
Matt's Weekly Shop Update
Kitchen Island, Barn Power – March 2024 Update
Welcome to my shop! This is a quick update to let you know what I’ve been up to. This big chunky thing is the leg
Now we’re onto the last bit of joinery in the project: connecting the rails to the posts. This joint will consist of a stub mortise and tenon which will be held in by a bolt which I will add later. The posts can also be cut to size and shaped and the live edges treated.
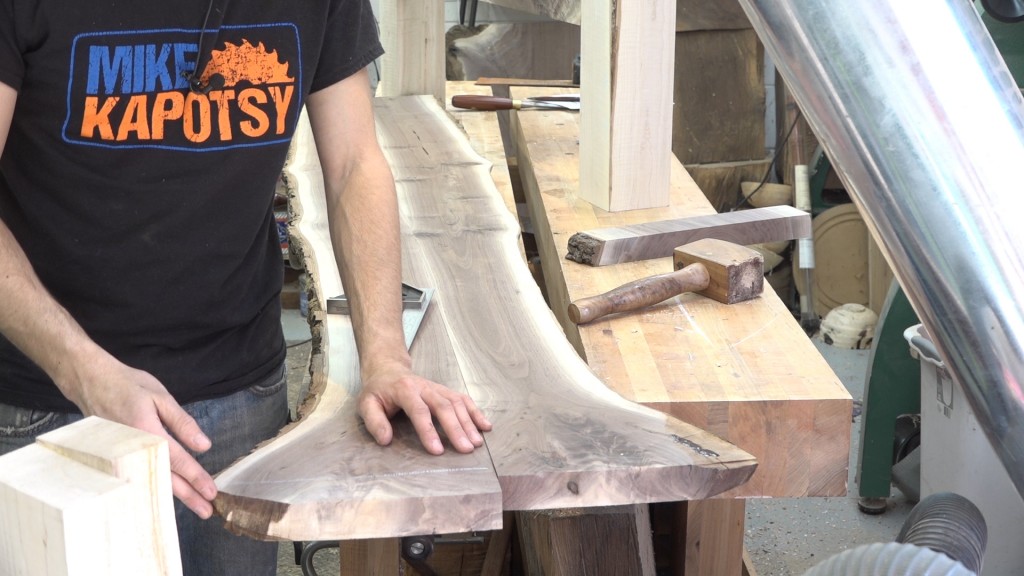
The rails are still at rough length so I need to cut them to length first. At the end with the crotch, I have this branch part that was cut off. I want the rails to flow into the posts so I need to remove enough material to remove the angled corner. This sadly sends some of the crotch figure to the scrap bin but the better looks justifies it.
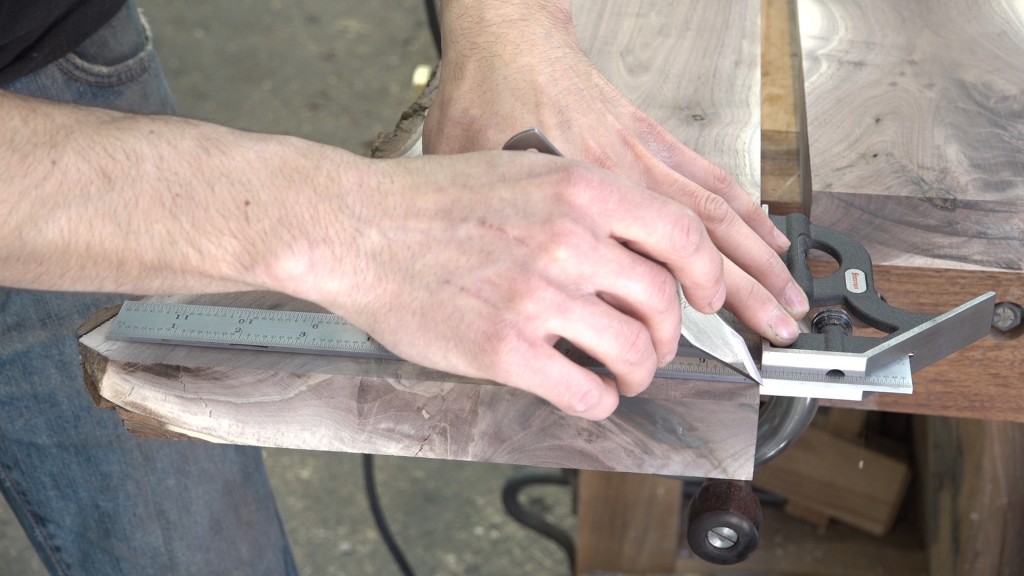
Next I need to make a stub tenon on the ends of the rails. This tenon will help keep the rails aligned and transfer the weight from the rail to the posts. I’ll be adding some bolts which will keep the tenons inside their mortises. To start on the tenon, I scribe the shoulder line around the three square sides with a square and knife.
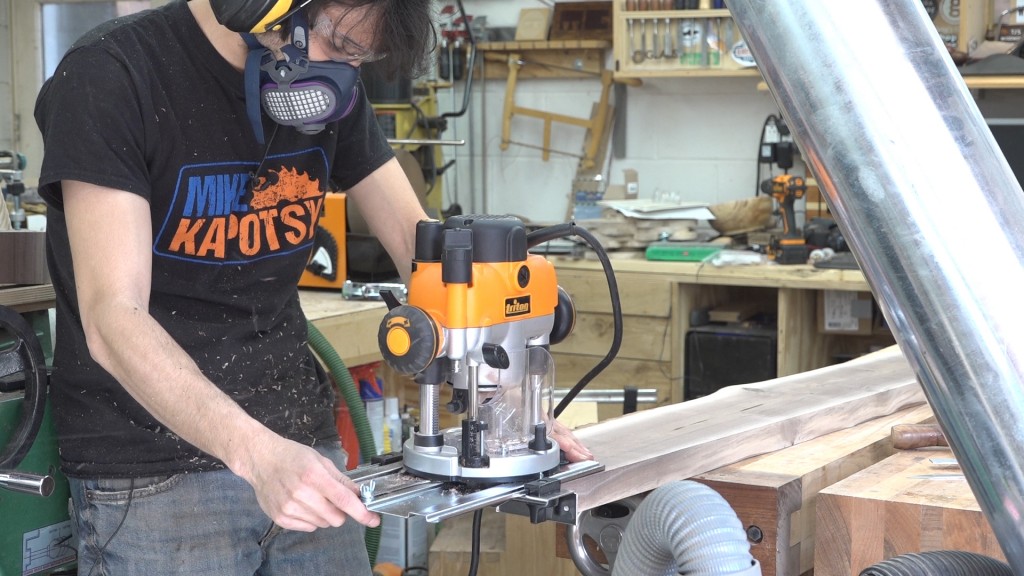
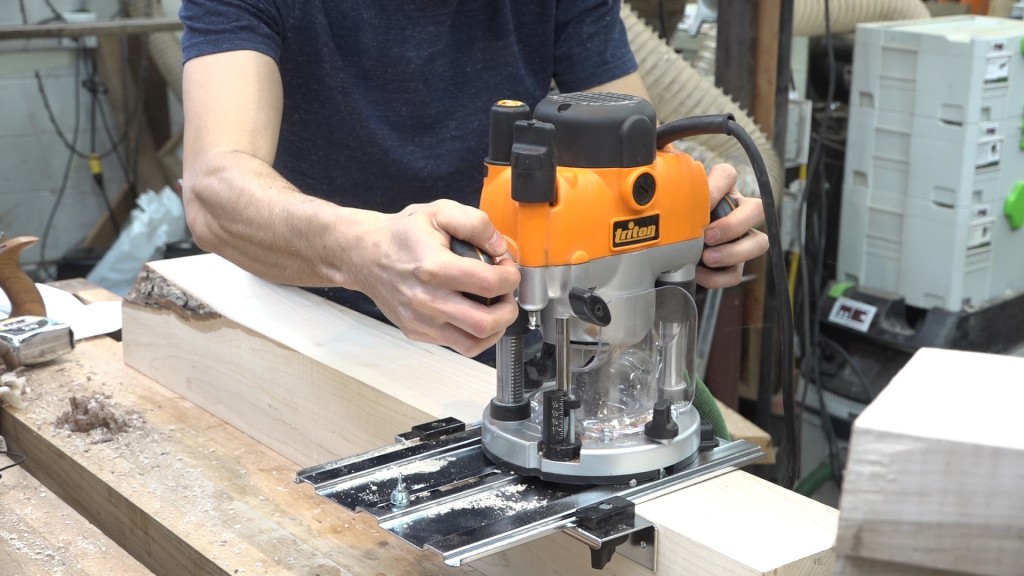
A router with an edge guide can be used to removed the bulk of the waste and to set the tenon thickness. I set the router away from the scribe line a small amount so I can clean that up perfectly with a chisel.
Next the tenons get trimmed to length. The headboard size gets cut to 6″ long and the footboard side gets cut to 4″ long.
The mortises are cut using a router, spiral bit, and an edge guide. I make one pass to establish how far back the rail will sit from the edge of the post and then adjust the fence to widen the mortise until it’s the right size for the tenon.
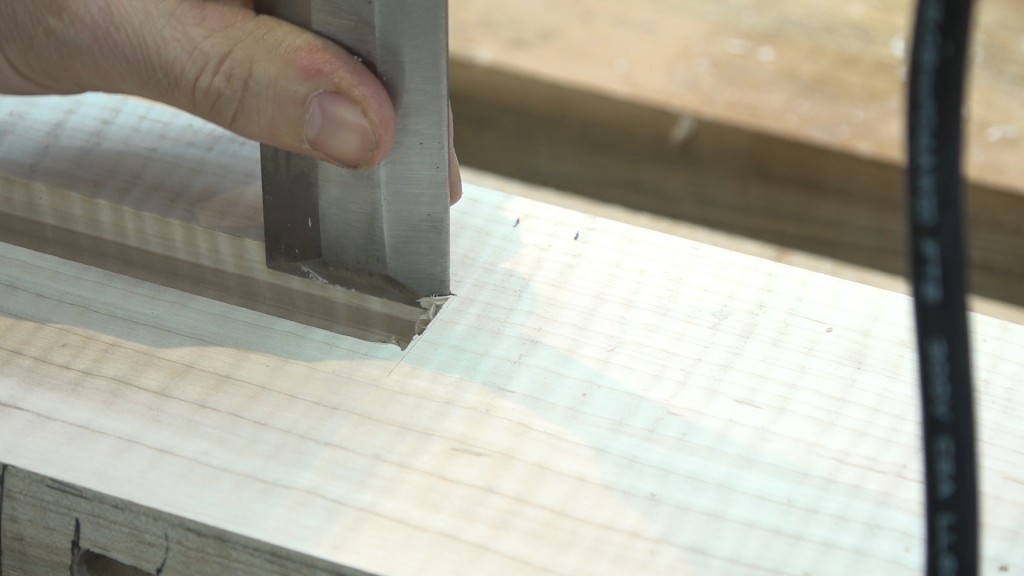
The corners get squared up to match the square corners on the stub tenons.
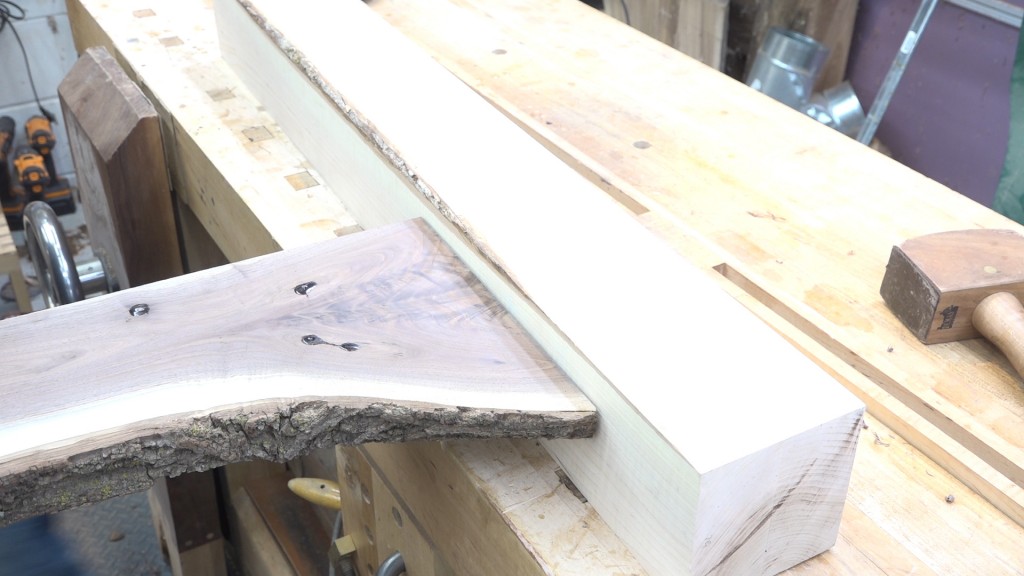
The finished connection between the rail and the headboard post.
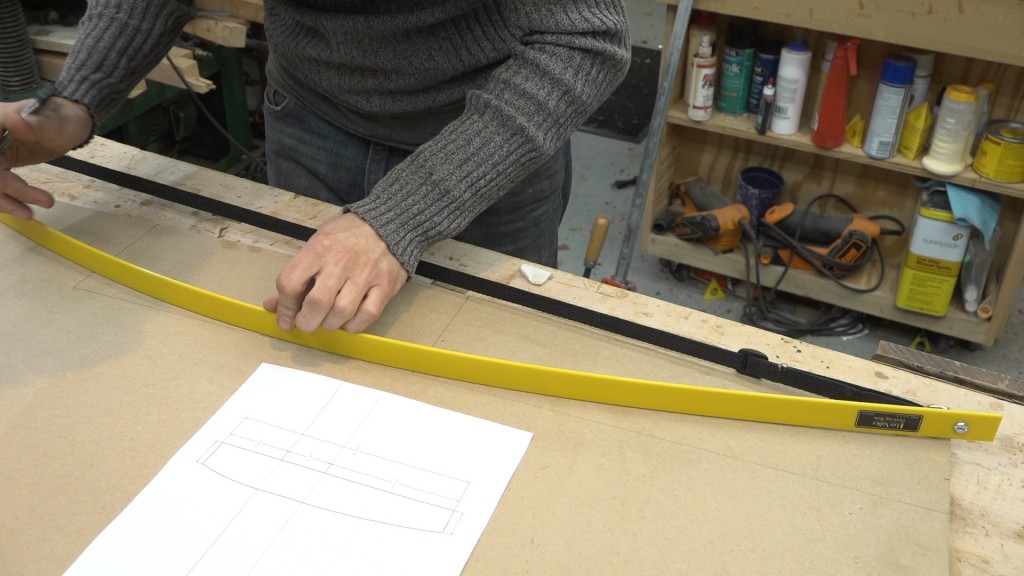
Now I can start working on shaping the posts. I spent some time in sketchup playing around with different post heights and shapes. I settled on posts that extend a few inches past the seam in the head and foot boards and tapering curves on two faces. I printed out what I had decided on and started working on a template out of 1/2″ mdf.
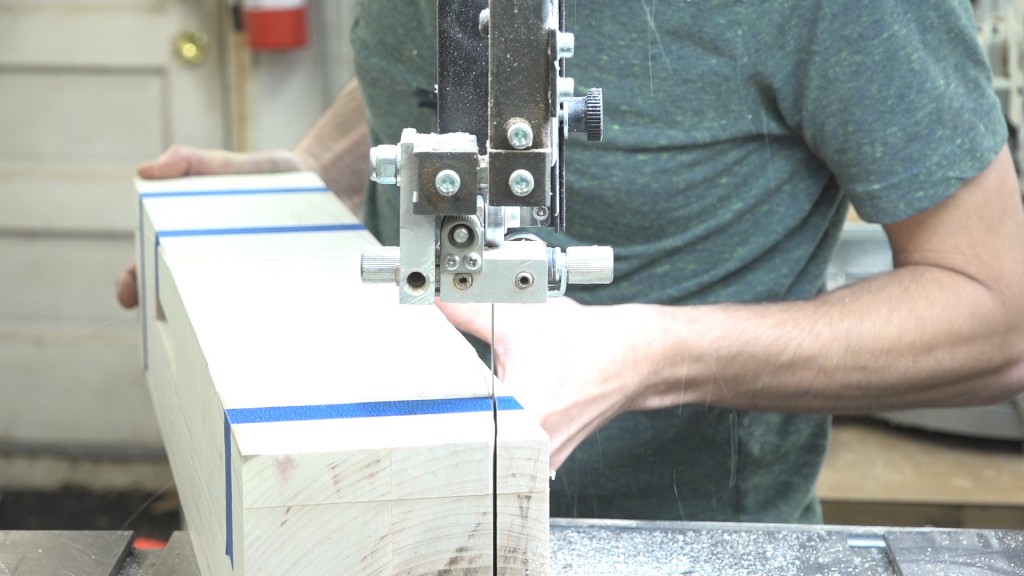
With the posts cut to length, I can start cutting the curves. The profile is the same on both faces but cutting one face removes the cut lines so I tape the offcuts back on for the second cuts so I can still see my cut lines.
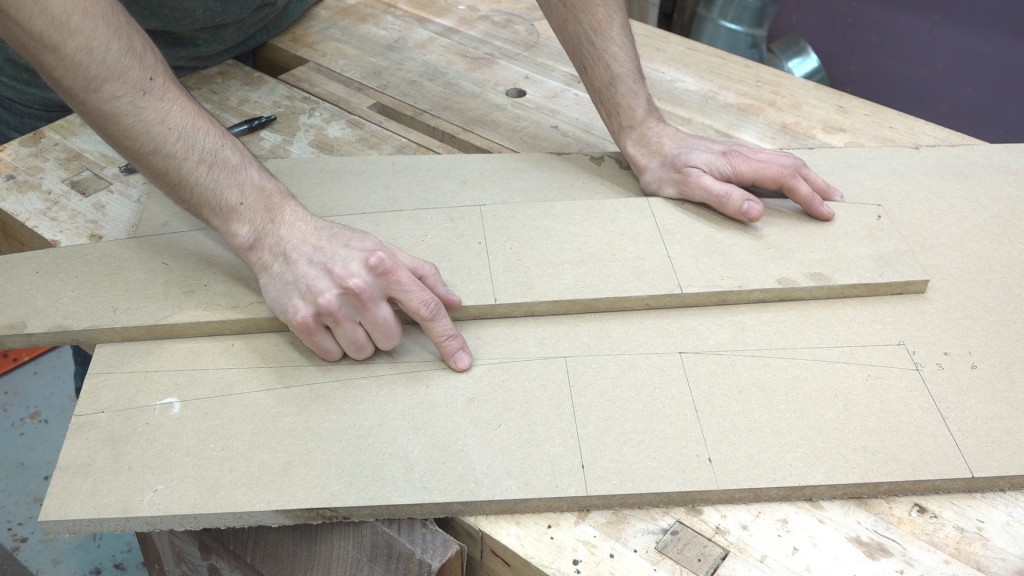
Since the footboard is 6″ shorter, I modified my template layout to accommodate the shorter length.
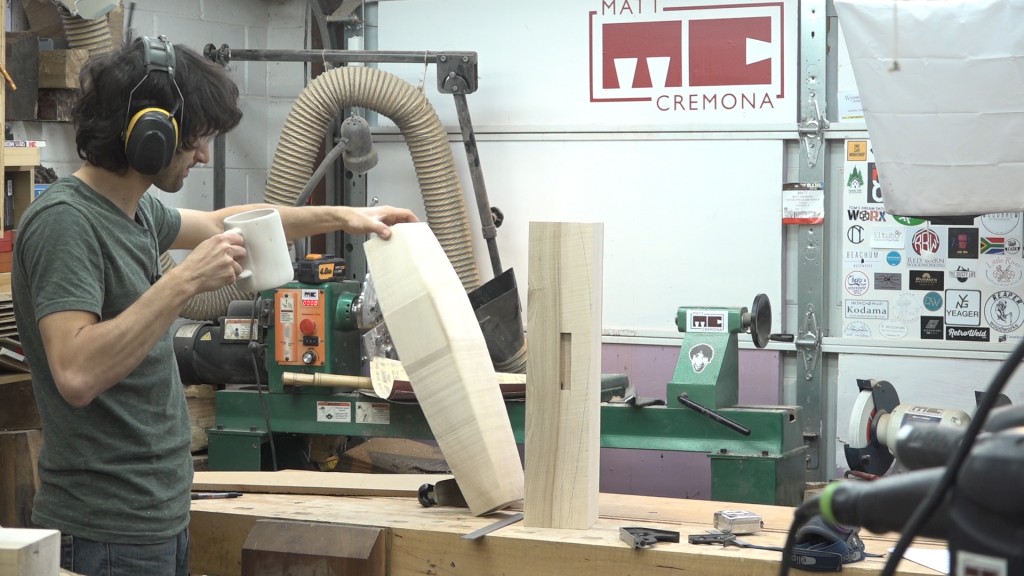
I went through the same process to cut the footboard posts to size and shape.
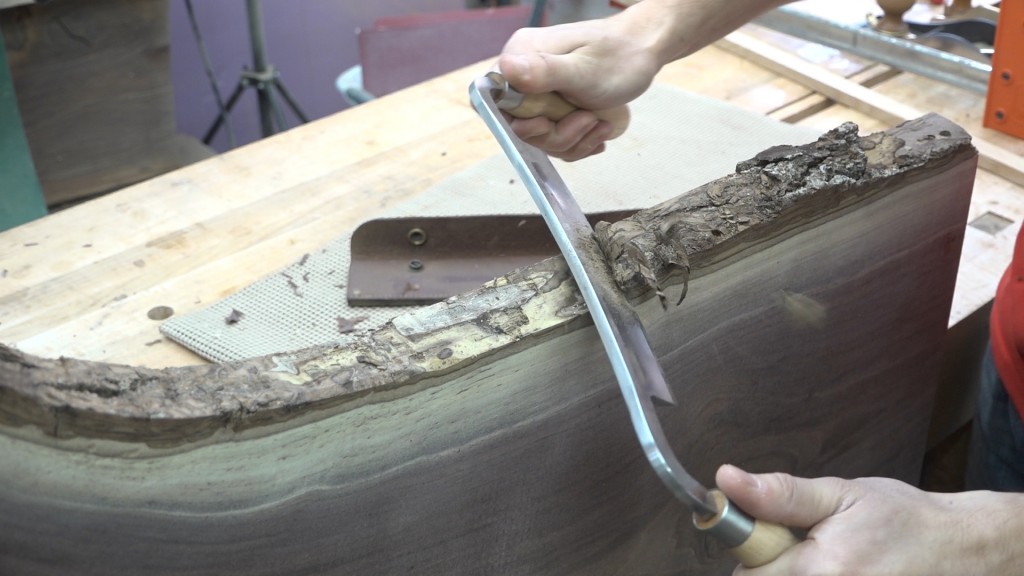
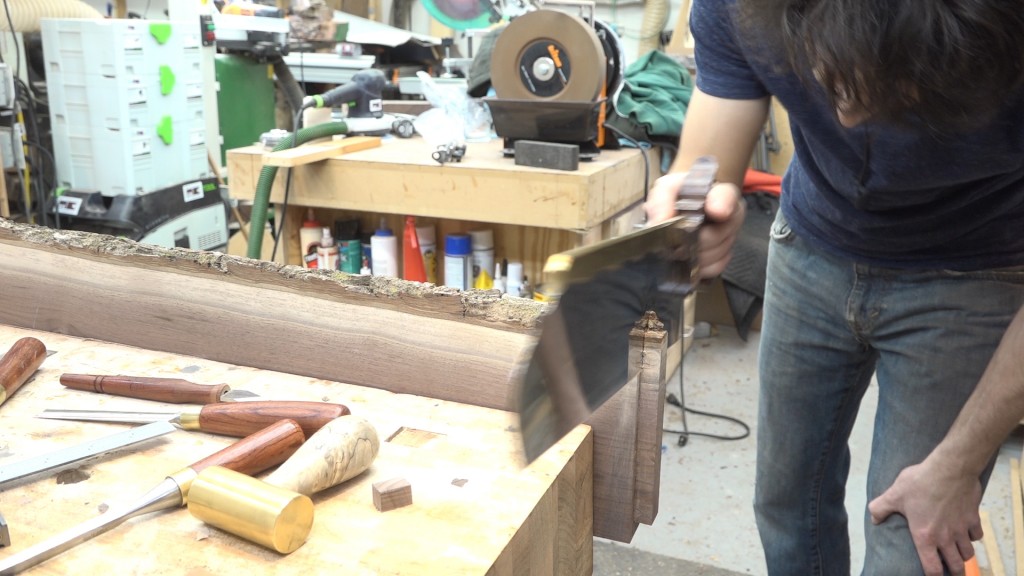
Next I’ll work on treating the live edges. I decided on a really cool look of leaving the inner bark so the first step is to remove the outer bark with a drawknife. I try to be conservative at this step since the following step of using the grinder can be aggressive.
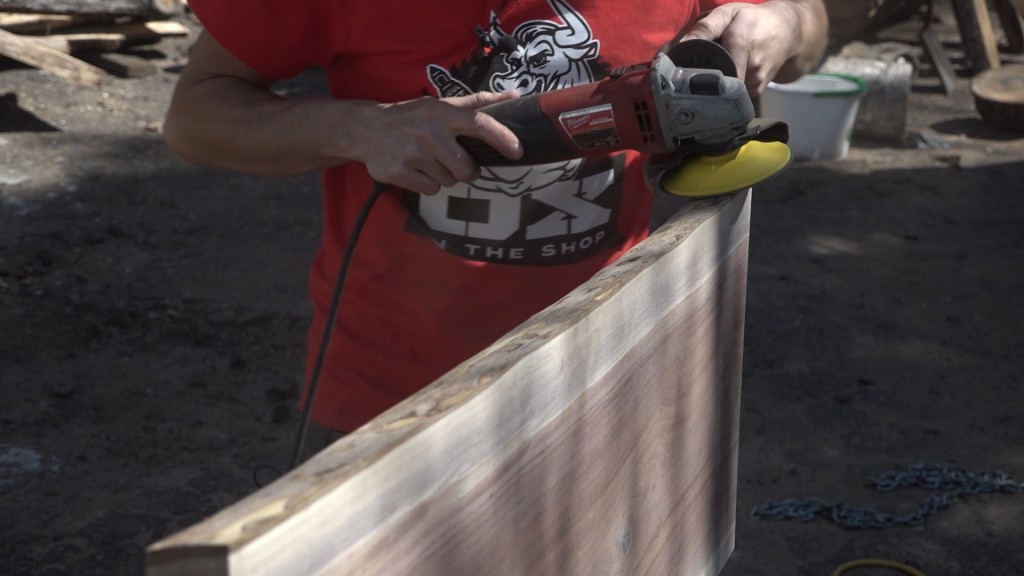
Next I’ll go over the surface with a grinder outfitted with a fine scotchbrite pad. This blends any facets left by the drawknife. I keep the grinder moving to follow the curving edge.
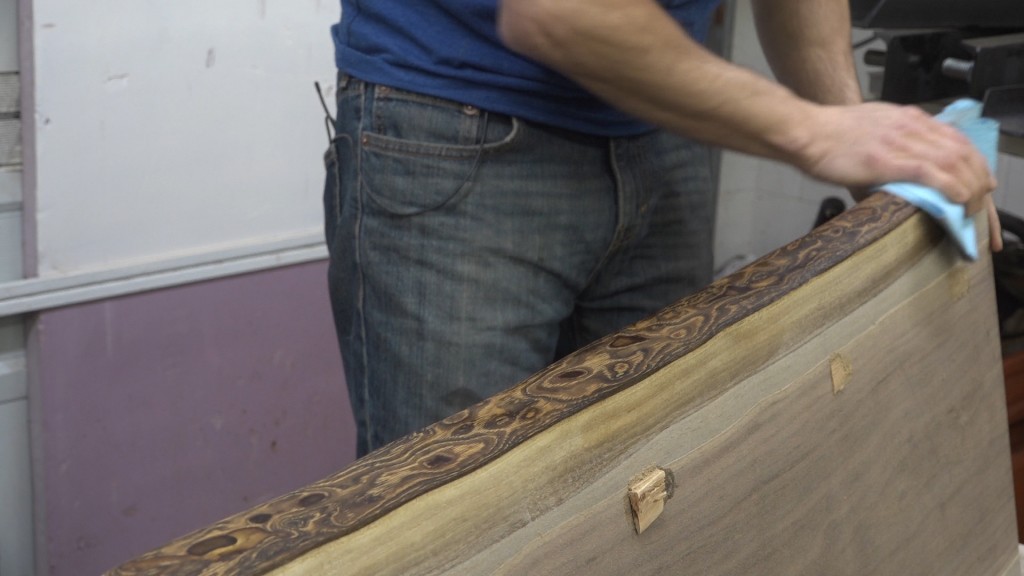
Lastly I’ll hand sand the edge to further smooth it out and the image above is how the bark looks with a little mineral spirits applied.
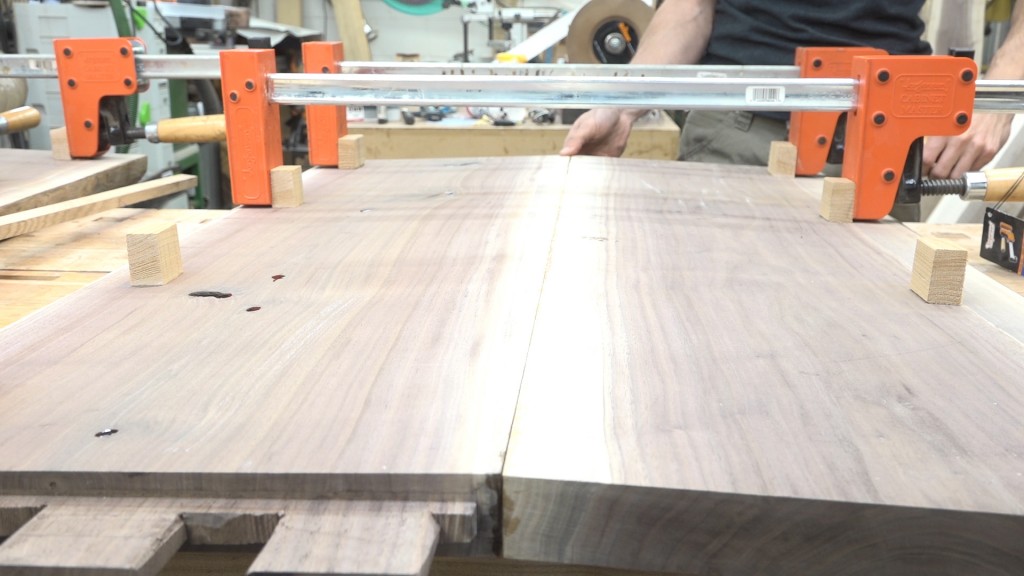
The last thing I’ll take care of is gluing up the walnut panels for the head and foot boards. Recall that these join at 5 degrees so traditional clamping wont really work. Anytime I have an edge joint at something other than 90 degrees, I like to use sacrificial blocks. These blocks have one edge cut to the same angle as the boards being glued up and are glued directly to the surface of the wood. The key is these blocks need to be of a weaker species. I like to use cedar for these blocks since it is so weak. The angles on the blocks allow the clamps to apply clamping force directly across the joint. When the glue on the panels is set, the blocks can be broken off with a swift mallet strike. Since the cedar fibers are weaker than the glue and the walnut beneath, it is the cedar fiber that break. This just leaves some glue and cedar fibers on the surface that is easily removed when the panels are sanded.
Next time, we’ll get into prefinishing and then assembling the head and footboard as well as building the mattress support structure.
Products Used
Triton Router: http://amzn.to/2hXj5AC
Combo Squares: http://bit.ly/2nF3KMf
Drawing Bow: http://www.leevalley.com/us/wood/page.aspx?p=44631&cat=1,42936,50298
Draw Knife: http://bit.ly/2p8D7Mx
Dust Mask: http://amzn.to/2oY5H6I
Hearing Protection: http://amzn.to/2p6izax
Backer Pad: http://amzn.to/2p8MjRg
Fine Finishing Discs: http://amzn.to/2oY13FA
Super Jaws XXL: http://amzn.to/2fPJCm9
West System Epoxy Resin (Gallon): http://amzn.to/25TYH7y
West System Epoxy Slow Hardener (Quart): http://amzn.to/25TYKAr
Welcome to my shop! This is a quick update to let you know what I’ve been up to. This big chunky thing is the leg

Welcome back to the home renovation. This time I’m going to be working on the kitchen island. Here is a small model of the island.

Welcome back to our home renovation. Today I am going to be working on this wall. It needs some upper cabinets and the surround for