
Matt's Weekly Shop Update
Kitchen Island, Barn Power – March 2024 Update
Welcome to my shop! This is a quick update to let you know what I’ve been up to. This big chunky thing is the leg
My son JR needs a bed since his brother will be stealing his crib. To get started I need to pull all the lumber for the bed frame and settle on a design.
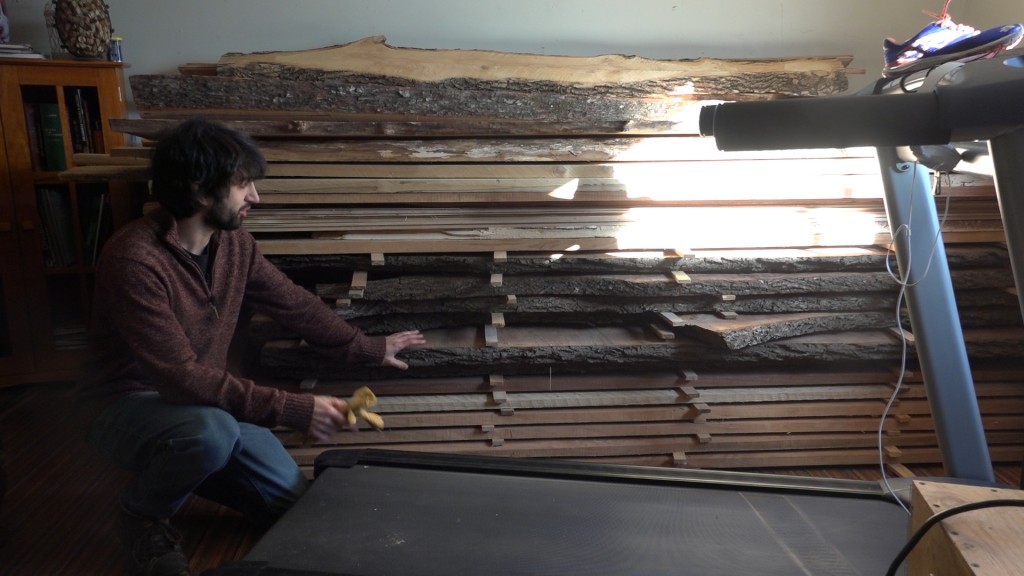
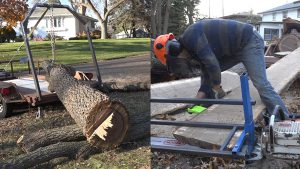
In the fall of 2015, I had just added the log lift to my trailer and I took it out to pick up a walnut tree that was being removed (destined for the yard waste dump). I took all the larger sections. The trunk was around 18″ in diameter and 8′ long to the top of the first crotch. The trunk extended another 4′ to another crotch area with three limbs. I cut all the logs into 8/4 lumber with my chainsaw mill and stacked the slabs behind my shed in the European style. Around June, the slabs were around 28% MC (and I needed the space) so I brought them into my indoor drying area to finish drying.
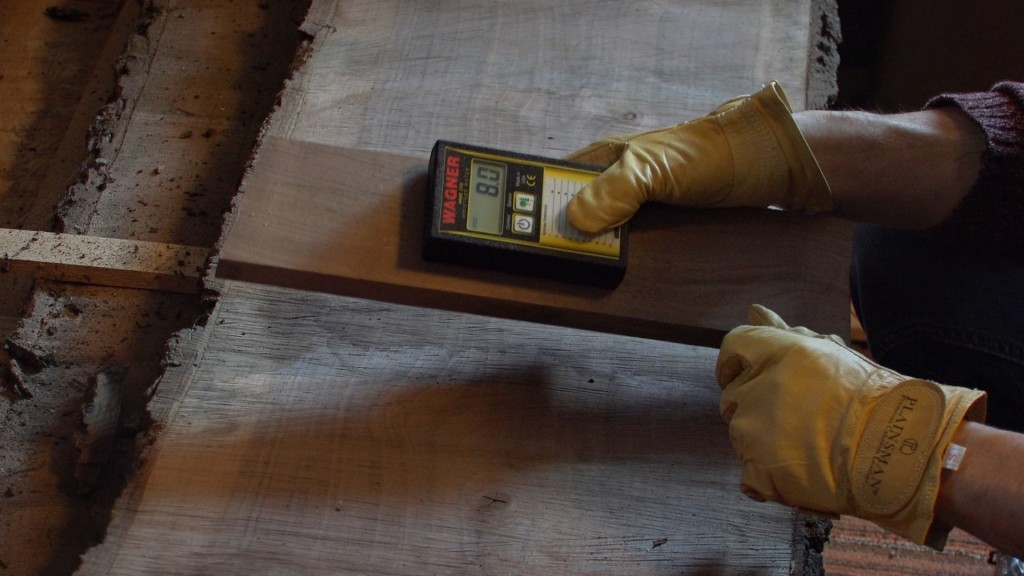
I haven’t had much time to keep up with a constant drying cycle so these have been in here for longer than needed. Since I just cut a bunch of stuff with the new bandsaw mill, I needed to transfer that lumber into here to dry which means I get to remove this entire stack which is a long overdue task anyways. On top of the lumber I am drying, I stack dry lumber to act as weight to keep the stack down to the ground. This dry lumber was the first to go. I just put it out on the patio with all the wet lumber that will be coming in so that it is out of the way. I got down to the slabs I wanted and checked the moisture content. Throughout the top board the range was from roughly 7-9%. I have a sample piece of walnut that I use as an equilibrium standard so I know when the walnut lumber I am drying is as dry as it will get in the environment.
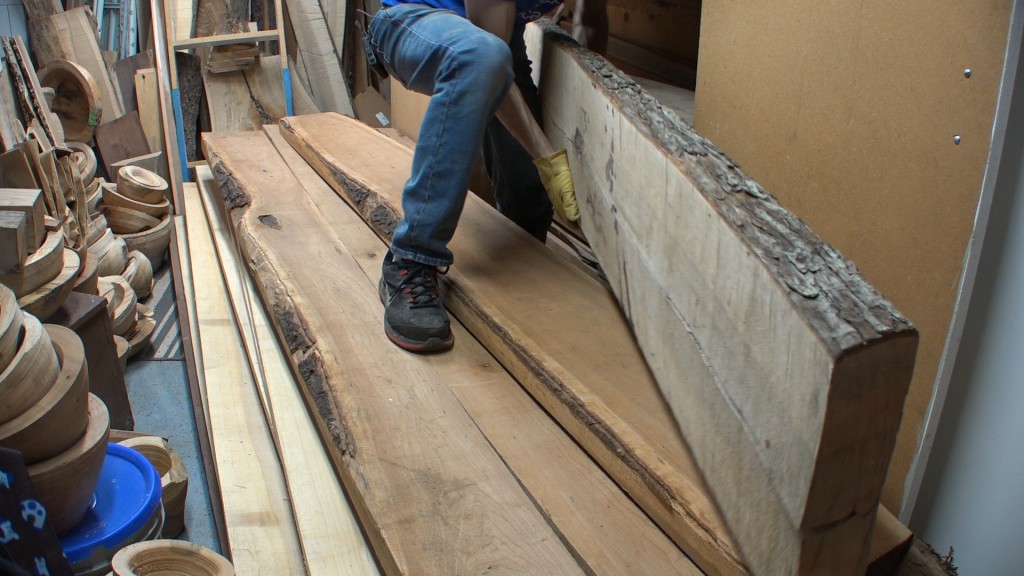
The lumber for the posts was stored under my staircase. This is my long term storage for lumber I don’t plan to use anytime soon. The last time I went through this stack was at least 2 years ago probably more. I cut a maple log into 12/4 slabs around 4 years ago. Since the slabs are sequential and I need stock thicker than 3″ for the posts, I can glue these slabs back together without much of a glue seam being visible.
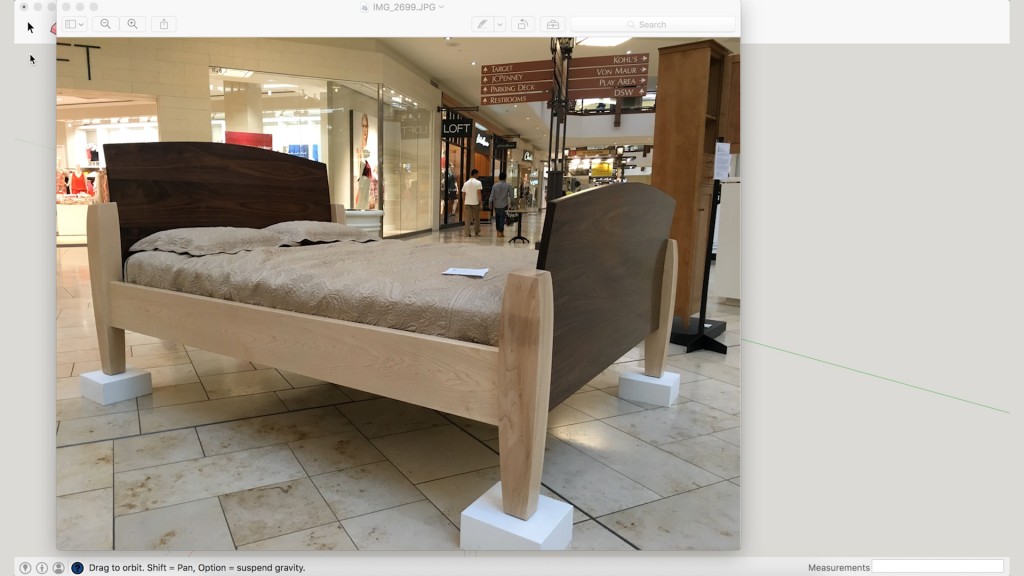
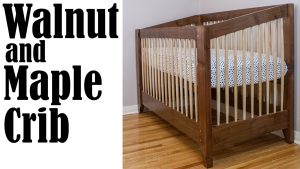
Last year at the Northern Woods Show, I saw this bed made by Craig Jentz. My wife and I liked the design so I’ll be basing my design on this bed.
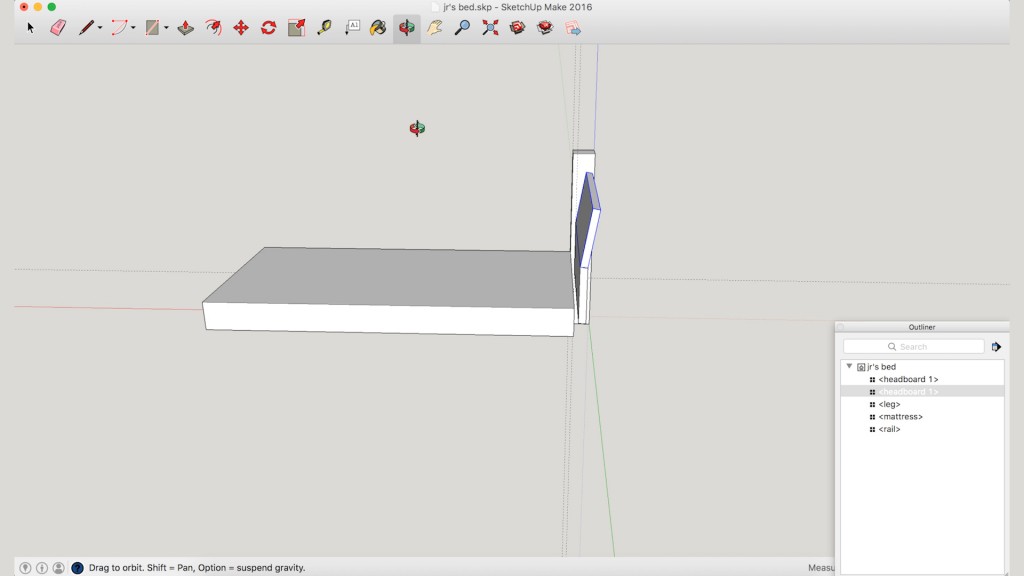
I use Sketchup to start laying out the bed so I can see the dimensions of all the parts. Since this is a bed, I start with the mattress and derive the bed components from it. At this point, I’m not sure how tall I want the posts to be or what angle I want the head and foot board tilted at but what I gain from this is the rough dimensions of my parts.
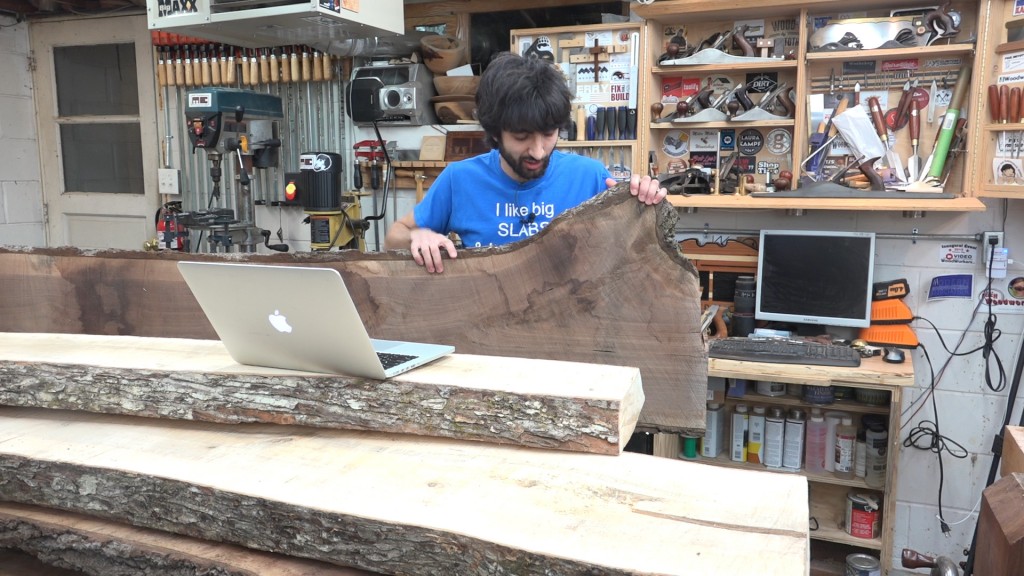
Now this is where looking at the lumber influences my plan for the design. I really like this section of crotch that extends up so I am considering making the top edge of the head and foot board live edge. Further playing off of that idea, the bottom edge of the rails could also be live edge since that would be a nice tie in to the head and foot board. If I end up not liking the look, I can always cut the live edge off. That’s much easier to do than cutting it off and wanting to put it back on.
I expect this design to further evolve as I get into building it but at this point all of the rough ideas are in place so I can start breaking down the stock.
Welcome to my shop! This is a quick update to let you know what I’ve been up to. This big chunky thing is the leg

Welcome back to the home renovation. This time I’m going to be working on the kitchen island. Here is a small model of the island.

Welcome back to our home renovation. Today I am going to be working on this wall. It needs some upper cabinets and the surround for
One Response
Really looking forward to the build!