
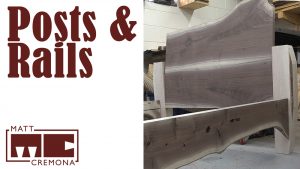
Matt's Weekly Shop Update
Kitchen Island, Barn Power – March 2024 Update
Welcome to my shop! This is a quick update to let you know what I’ve been up to. This big chunky thing is the leg
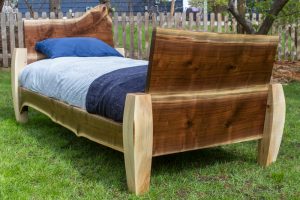
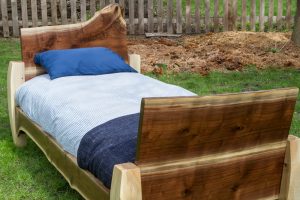
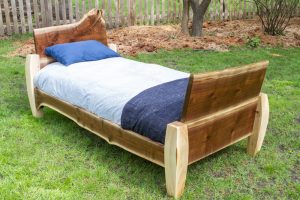
Now it’s on to the final details and finishing. I’ll be prefinishing the head and footboard before assembly to make the finishing process much simpler. The last bit of construction will be to add the mattress support system which will consist of a ledger and slats.
Whenever possible it is a great idea to prefinish as much as possible before everything gets assembled. Inside corners make finishing much more difficult but if all your parts are just flat panels things are much easier. On this project, I’ll be finishing the walnut and maple for the head and footboard separately before finial assembly.

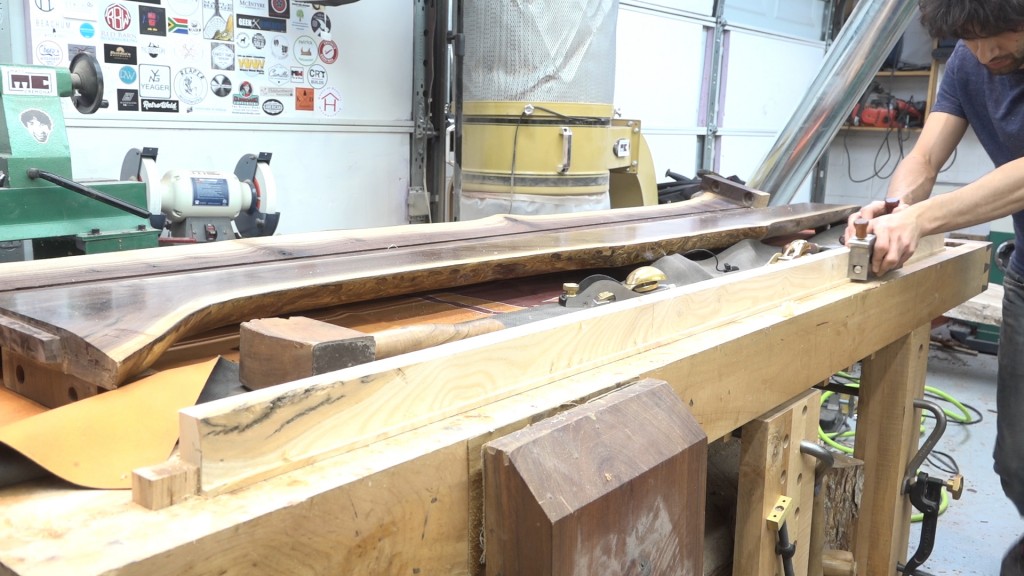
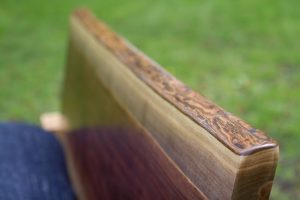
Surface prep is something that I am particularly passionate about. It’s certainly not the most glamorous part of woodworking but it will make or break your project. No matter how tightly your joinery fits or how nicely you apply a finish, if your surface has tearout, mill marks, plane tracks, or any other imperfections, those imperfections will detract from any other perfection in your piece. What’s worse, the only way to fix the issue is to completely remove the finish, fix the defect and then reapply the finish.
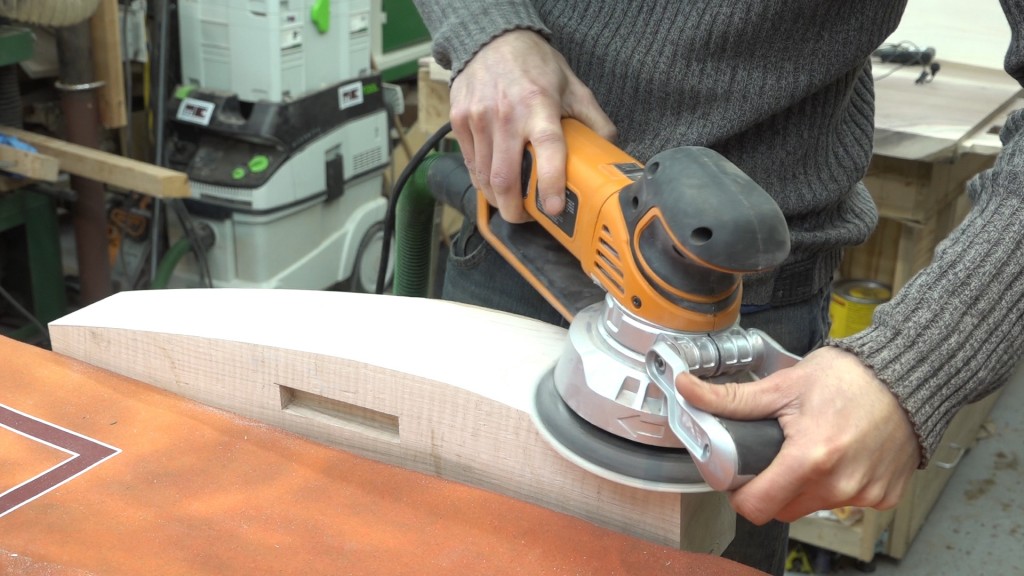
I hadn’t previously cleaned up the bandsaw marks from cutting the curves in the posts. 60 grit with the sander in geared mode made quick work of the clean up and final shaping of the curves.
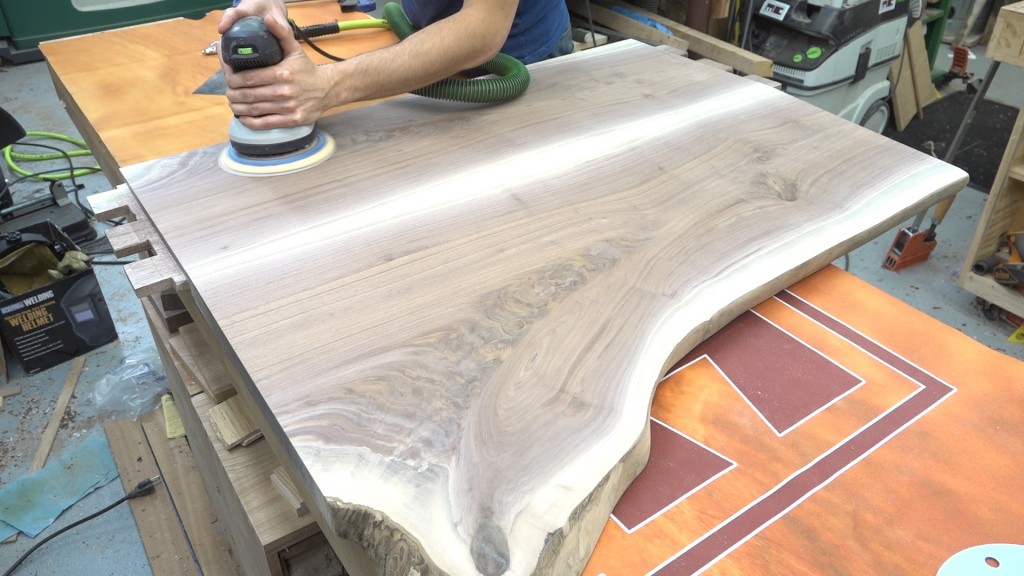
I sanded all the surfaces with 60 grit and then moved to 80 and then 120 grit. At 120 grit the surface should be smooth and there should not be any visible scratches or swirls. The surface should be uniform and have sort of a muddy look (at least walnut will look muddy). The final grit I’ll use is 180 and I’ll take my time going over the surface to make sure everything is evenly sanded and I don’t introduce any swirls.
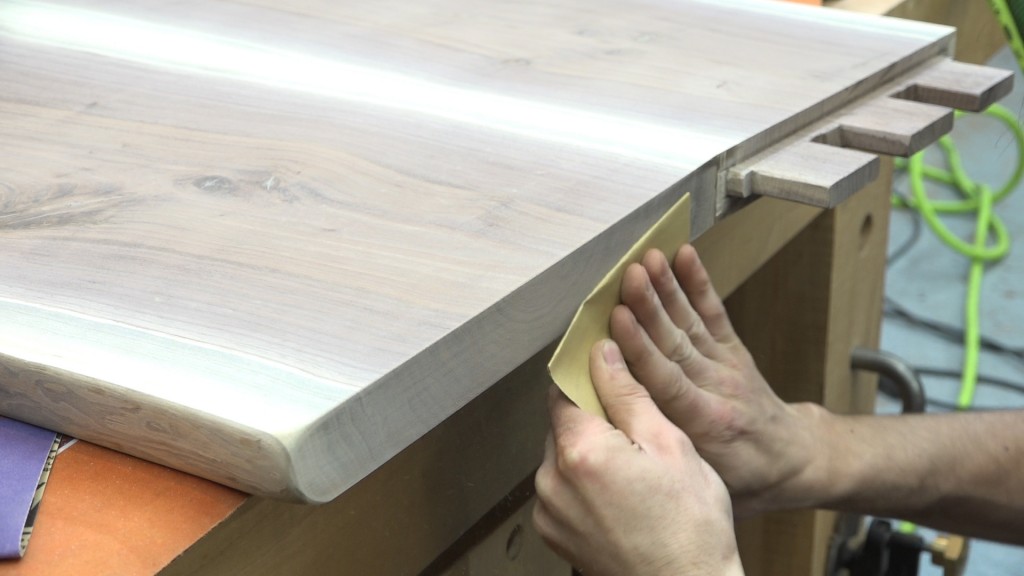
Lastly, I’ll break the edges of the walnut. I used the sander to blunt the corners and I’ll use some sand paper to introduce a light roundover that feathers into the corner. I’ll also sand the end grain with 220 grit to clean it up and remove any track marks from my handplane.
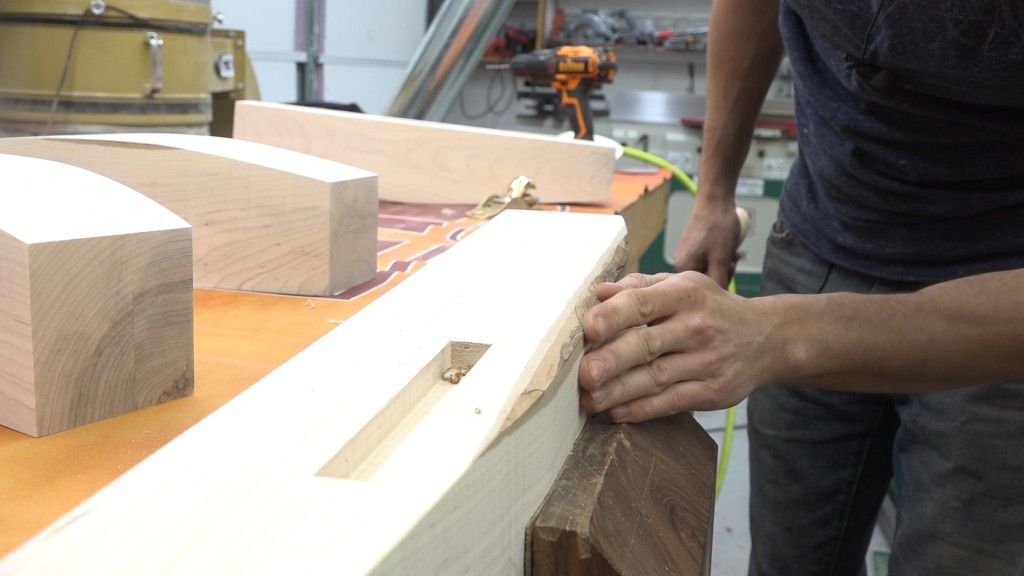
The bottoms of the posts get a light chamfer to prevent the posts from splintering as they are dragged across the floor. Their edges also get broken and the tops get a light roundover and the corners get blunted to soften their look.
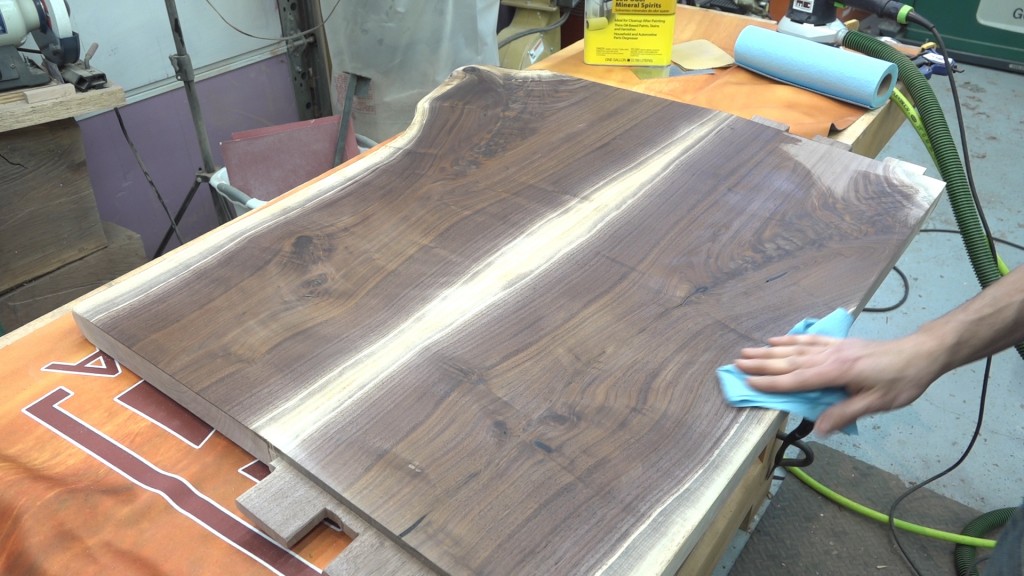
Now for the most important step: Checking your work. I’ll wipe the surface down with mineral spirits to simulate applying a finish. Finishes instantly make imperfections highly visible so this step gives us a chance to make sure the surface is prepared as well as it can be. If there is anything missed, it will be very easy to see and can be addressed before it’s too late.
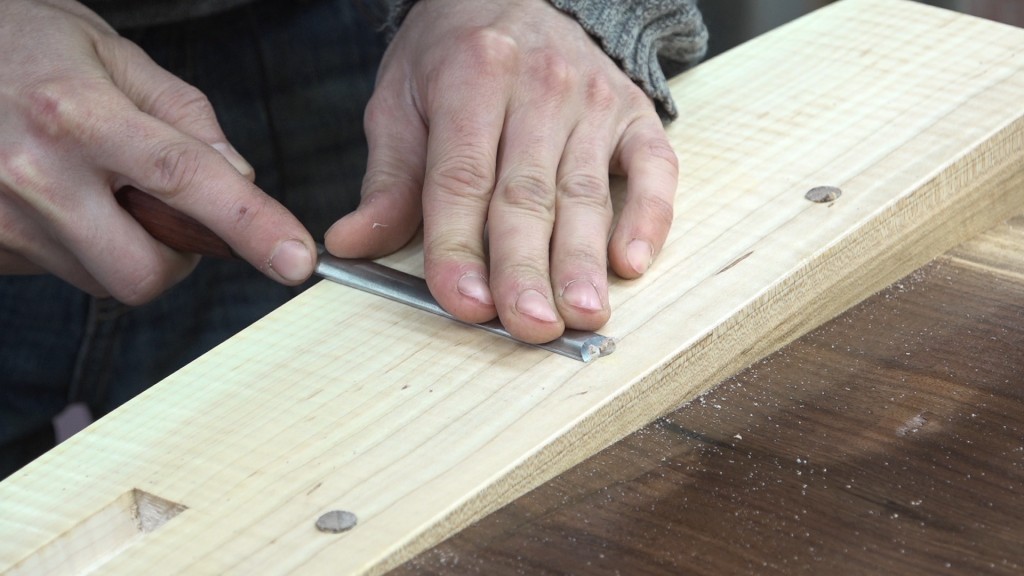
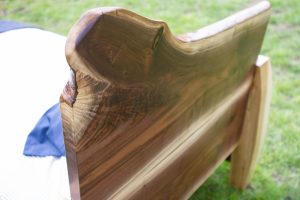
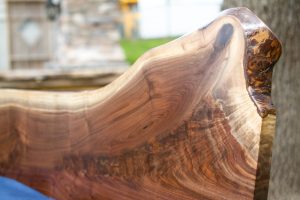
A couple of the posts had a little bit of bark left along their edges. I used the drawknife to create a similar effect as the live edge of the walnut.
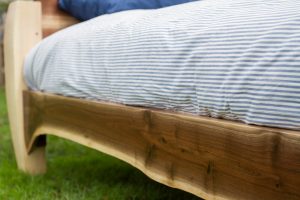
The last thing I need to do to the rails is to glue on the bolt blocks. I aligned these top to bottom so their tops will be in alignment with the mattress slats and held them back from the shoulder of the tenon by the thickness of a couple pieces of paper. This will leave a slight gap so as the bolt is tightened, the shoulder will bottom out before the bolt block does ensuring the shoulder will be tight against the post.
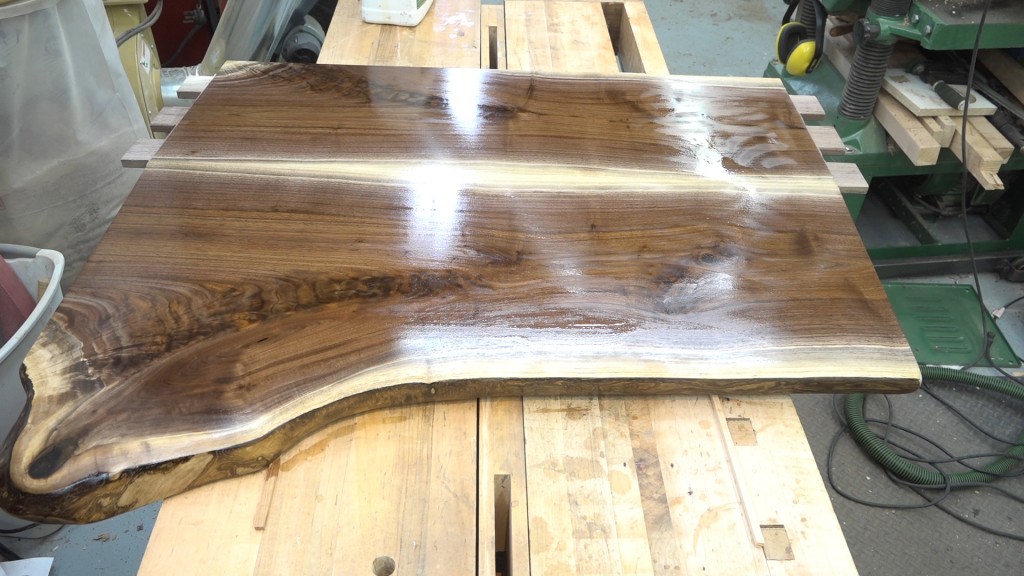
On to finish. I applied 5 coats of Arm-r-Seal. I’ve detailed this application process in the past.

To make the posts easy to finish, I hung them upside down from the ceiling.
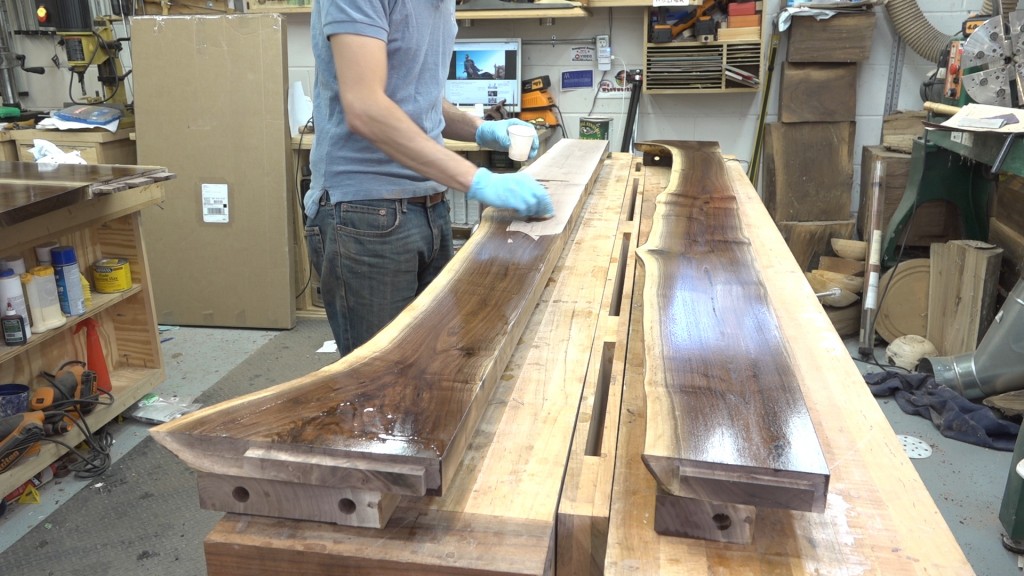
The finish on the bolt blocks doesn’t have to be perfect so I can use them as standoffs so I can finish both sides of the rails at the same time.
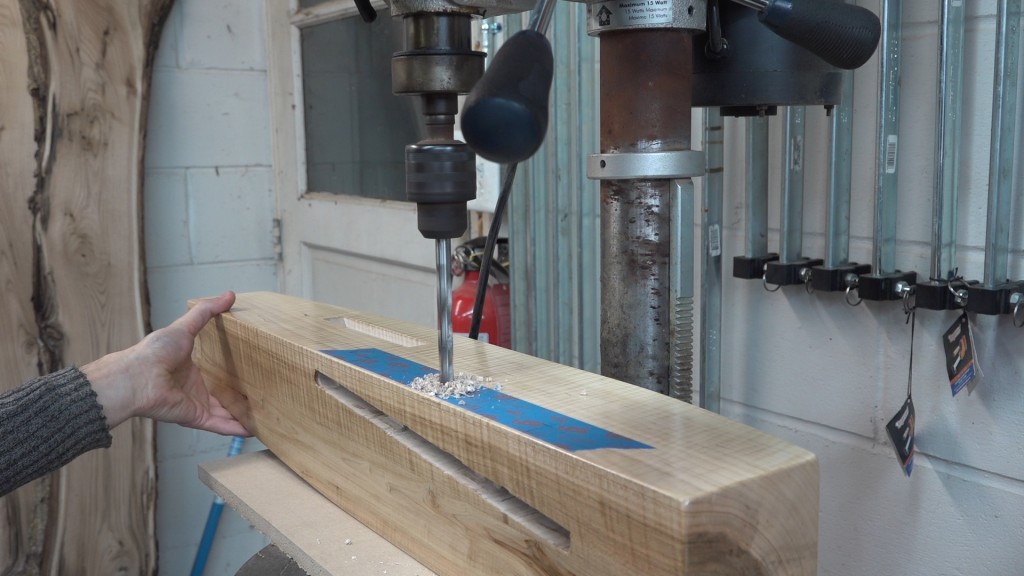
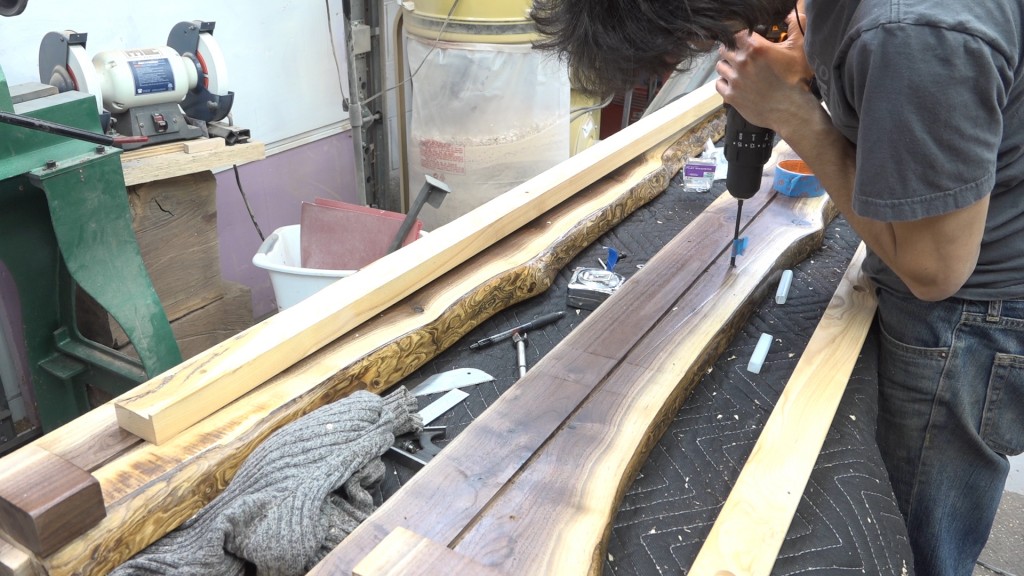
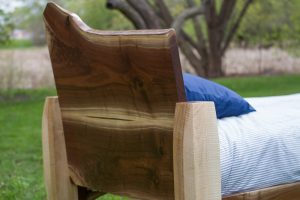
After the finish is applied I can start working on the final assembly of the head and footboards. The connection is essentially a bread board end where the tenons get pinned with a dowel through the mortise while still allowing for the panel to expand and contract. I laid out the dowel holes on the posts by just eyeballing their centers and drilled down about 3″ into the posts. The holes don’t go all the way though so the dowels will only be visible from one side (the inside faces).
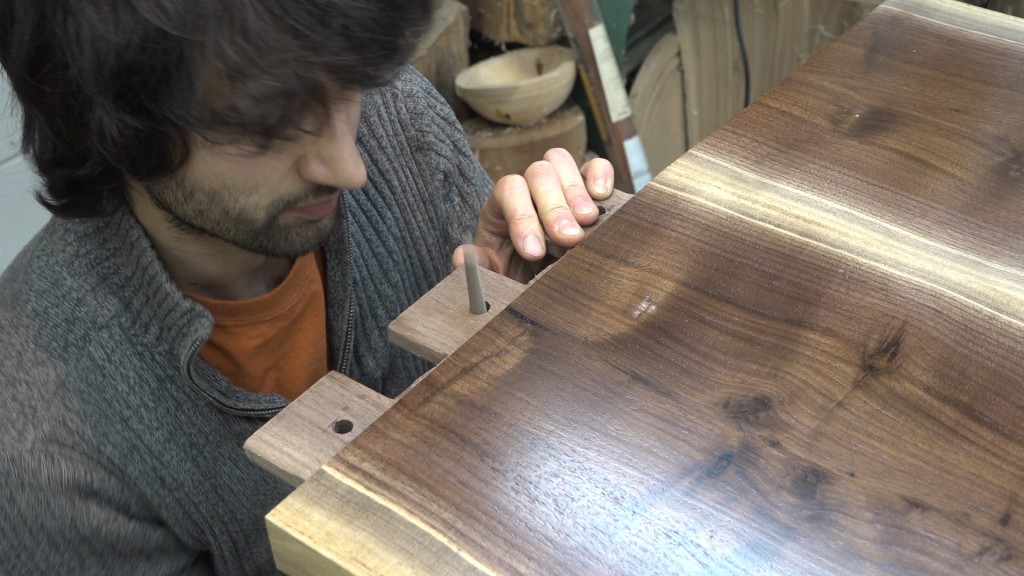
Next I’ll transfer the hole locations on to the tenons by fitting the panel and post together and using a brad point bit to make the center of the hole. I’ll drill a hole through the tenon for the dowel to pass through but I will shift the hole location closer to the shoulder. This will offset the holes and cause the dowel to pull the tenon as deep as possible into the mortise. This will ensure the shoulder closes completely and stays closed into the future. One last details is to elongate the holes to allow the panel to expand and contract which I do with a round file.
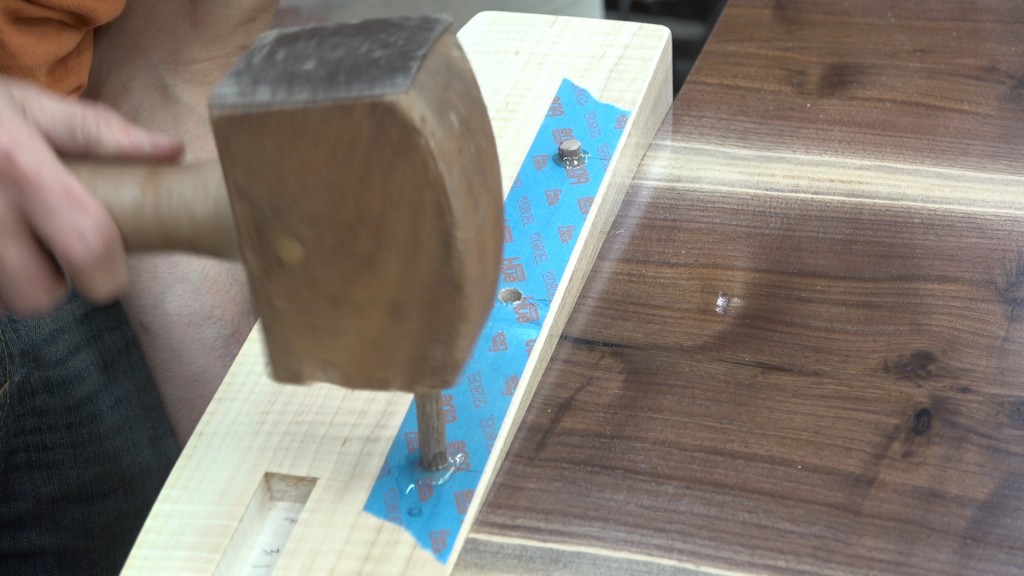
Glue is applied to one tenon and the other two are left dry. The dowel that passes through the glued tenon gets glued completely into the hole while the other two dowels receive glue as they are almost fully into the hole. This will glue them to the posts so they can’t back out but keeps the glue off the tenons inside so they can still float. I used epoxy for this glue up for the extra working time just in case.
The excess dowel can be trimmed off with a saw and flushed up with a chisel. A light sanding with 600 grit paper to even things out and then some finish can be applied to the area to blend thing together and to get some finish on the ends of the dowels.
Now to make the matress support system. This is going to consist of a ledger that attaches to the rails and some slats to support the mattress. The ledger gets a wide rabbet which leaves a tongue that fits into the groove cut in the rails.
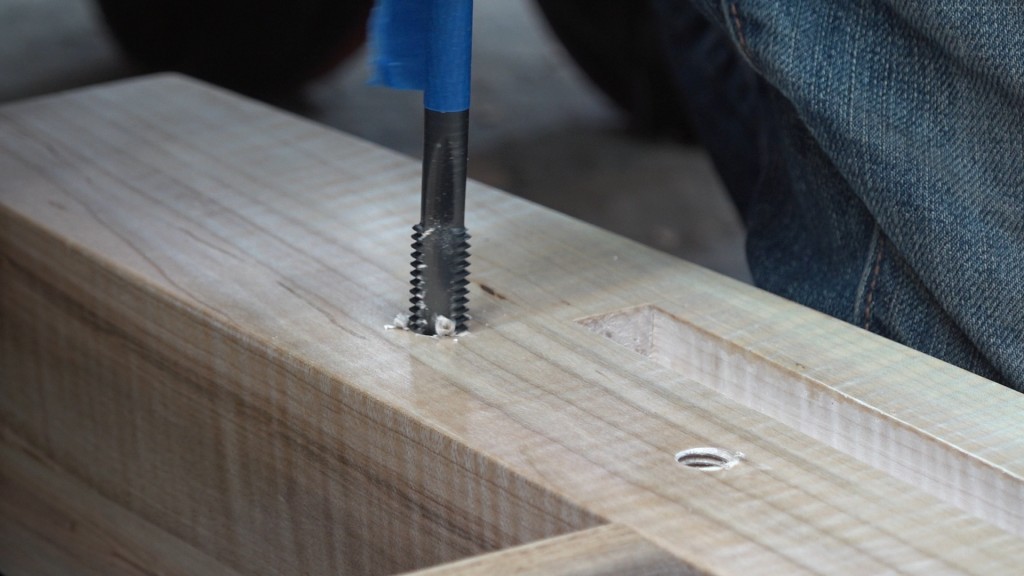
To assemble the bed I’ll be using 1/2″ socket head cap screws that thread directly into the posts. I installed the rails and transferred the holes locations from the bolt blocks to the posts. A 3/8″ pilot hole is drilled for the 1/2″ tap. The taps I’m using are a new product called Wood Whisperer Thread Taps which are specifically designed for power tapping in wood. Their added length was great for this application as I cut over 2″ of threads into each hole. That’s a lot of thread engagement for a really strong connection.
The ledger gets mounted to the rails with 4 1/4 socket head cap screws.
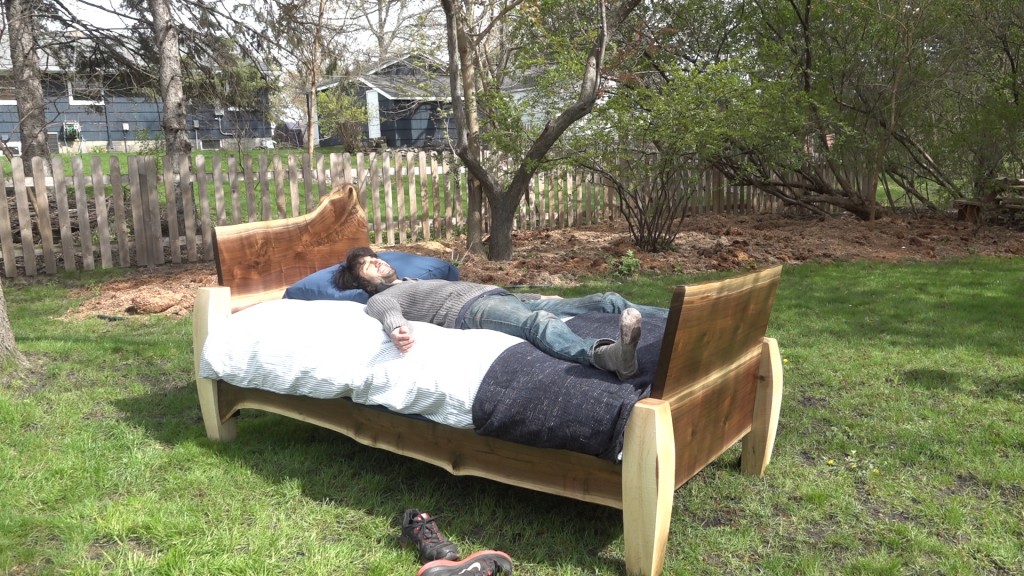
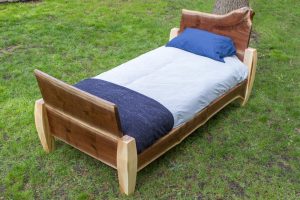
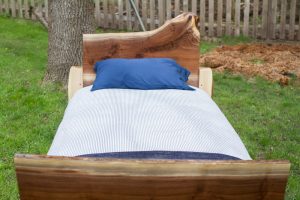
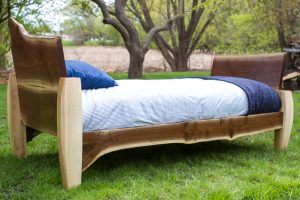
Now the most important part: Product testing.
Triton TGEOS Sander: http://amzn.to/2qmb2Fc
Draw Knife: http://www.highlandwoodworking.com/lie-nielsen-7in-drawknife.aspx?A=1314
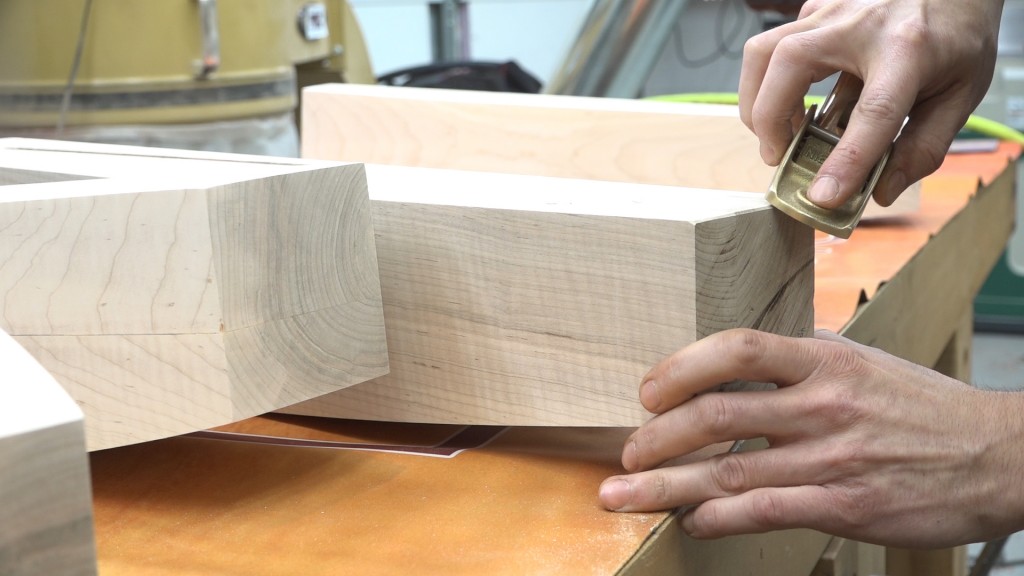
Apron Plane: http://www.highlandwoodworking.com/lie-nielsenno102bronzelow-angleblockplane.aspx?A=1314
Arm-r-Seal Semi-Gloss: http://amzn.to/2pQrVrN
Thread Taps: http://wwthreadtaps.com/
Welcome to my shop! This is a quick update to let you know what I’ve been up to. This big chunky thing is the leg

Welcome back to the home renovation. This time I’m going to be working on the kitchen island. Here is a small model of the island.

Welcome back to our home renovation. Today I am going to be working on this wall. It needs some upper cabinets and the surround for