
Matt's Weekly Shop Update
Kitchen Island, Barn Power – March 2024 Update
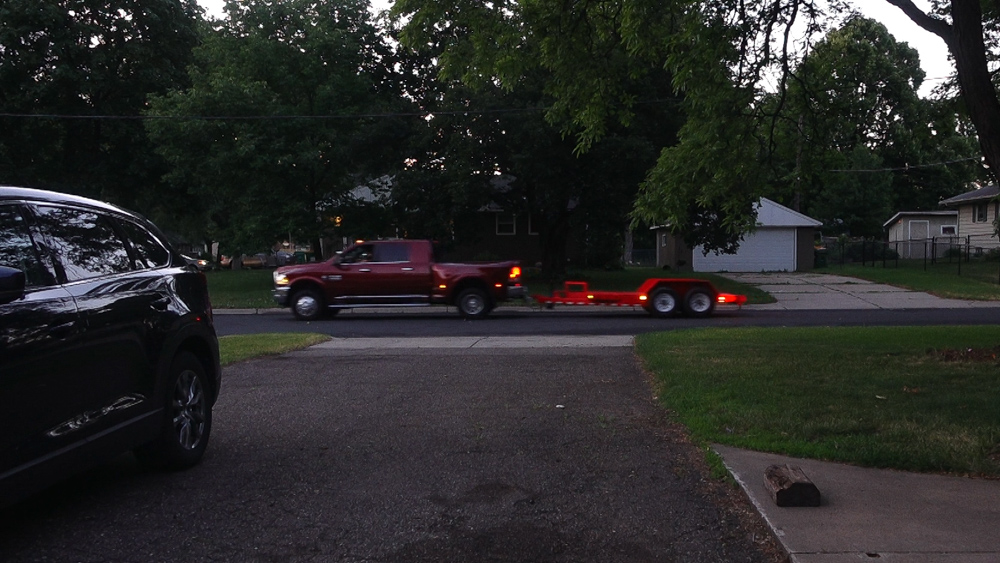
Welcome to my shop! This is a quick update to let you know what I’ve been up to. This big chunky thing is the leg
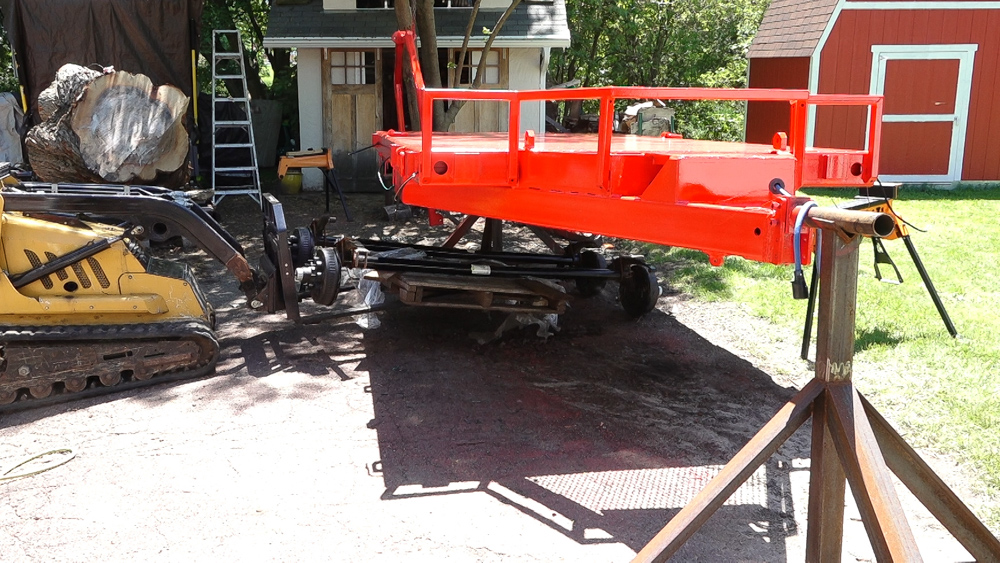
With all the prep work done, I can start getting the trailer back down onto the ground. I went ahead and disassembled the axel assemblies so I could add antisieze to the bolts. I originally thought I’d be stripping the trailer down in a parking lot to be coated so I previously omitted the antisieze so that process would be a bit easier.
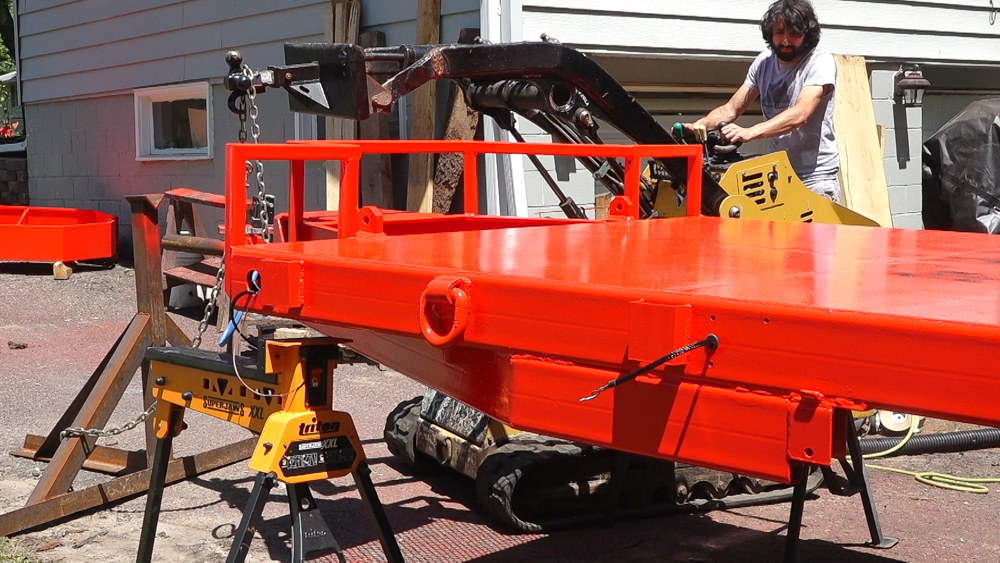
With the axels under the trailer, I can start lowering it. I’ll drop it onto the Superjaws as an intermediate step on it’s way to the ground.

Next I can reinstall the suspension components. It took a little work to get everything aligned so I could run the bolts through that connect the suspension to the hangers. The stabilizing jacks on the back of the trailer were a big help.
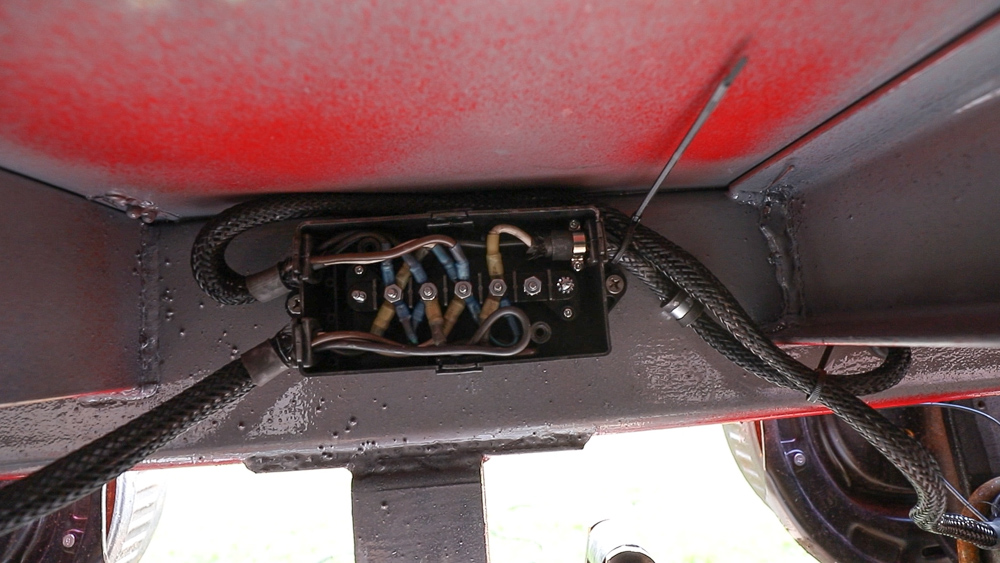
Next I can work on wiring the brakes. In the previous post, I installed a junction box here so I can have each brake connect inside of it instead of having splices and connections floating around the trailer.
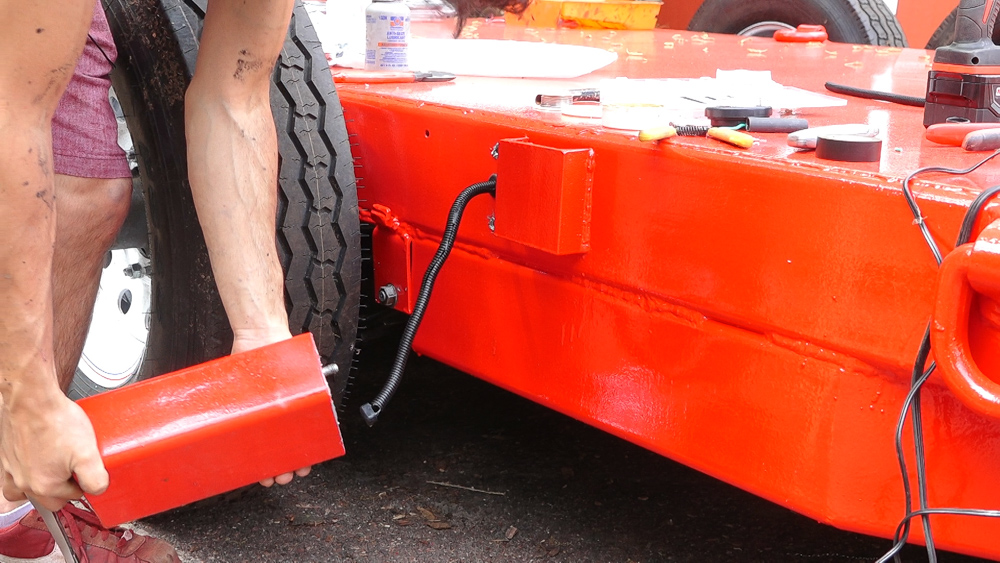
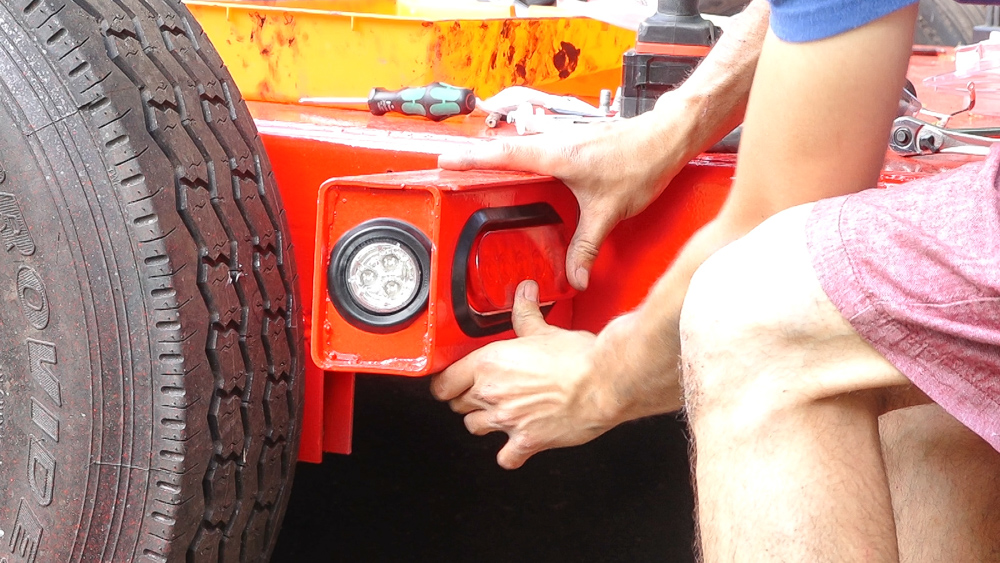
Next I’ll start installing the lights, starting with the easy ones. The leads are preped and the lightbox can be bolted on. I added a bead of RTV to seal the connection between the box and trailer.
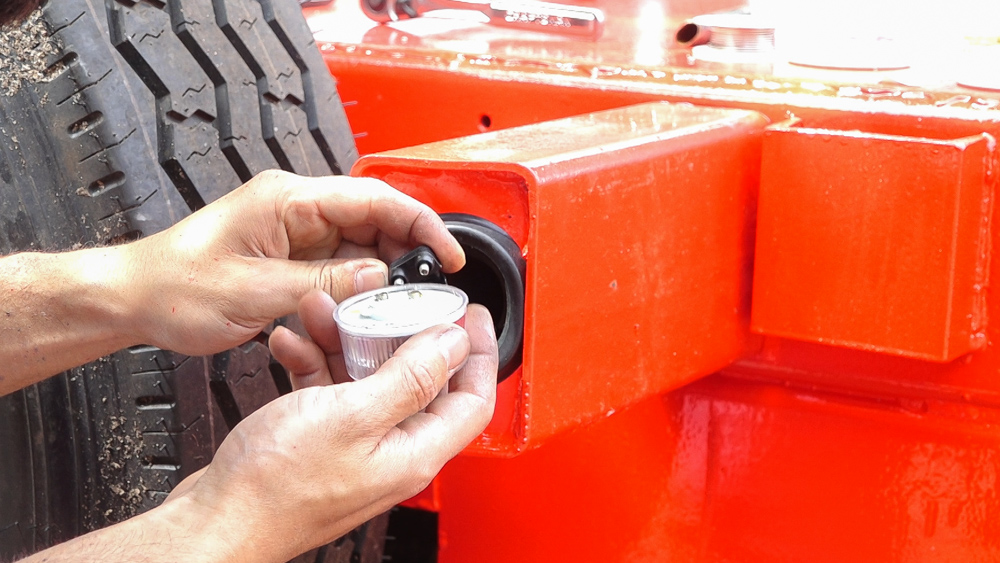
The lights I’m using plug in and are mounted in a grommet. This makes install pretty easy and if the light get damaged, it’s easy to swap in a new one.
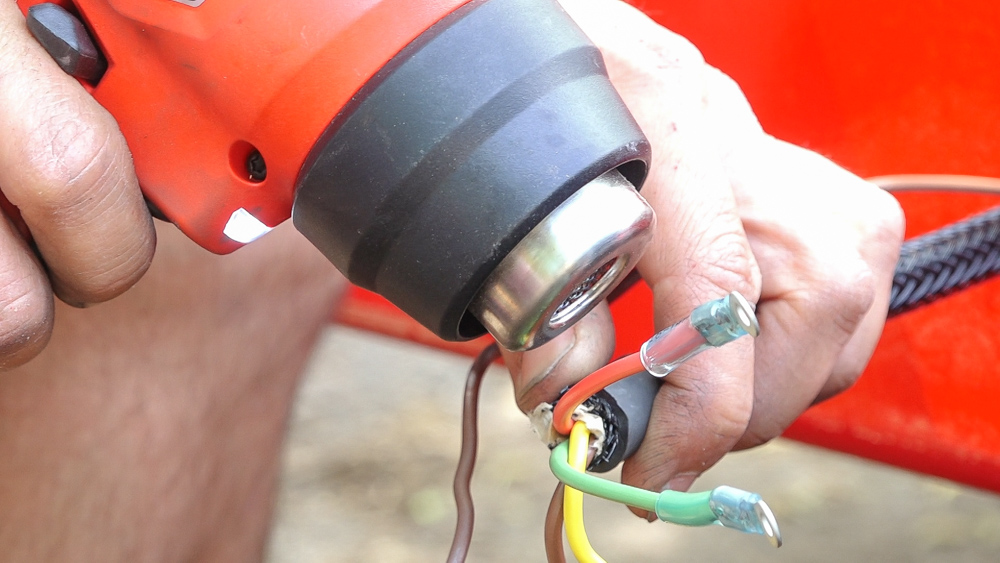
On to the back of the trailer, I can start by prepping the wires that I previously pulled. This wire connects the rear light box to the junction box at the front of the trailer. As with the front, I’m using heat shrink ring terminals here too.
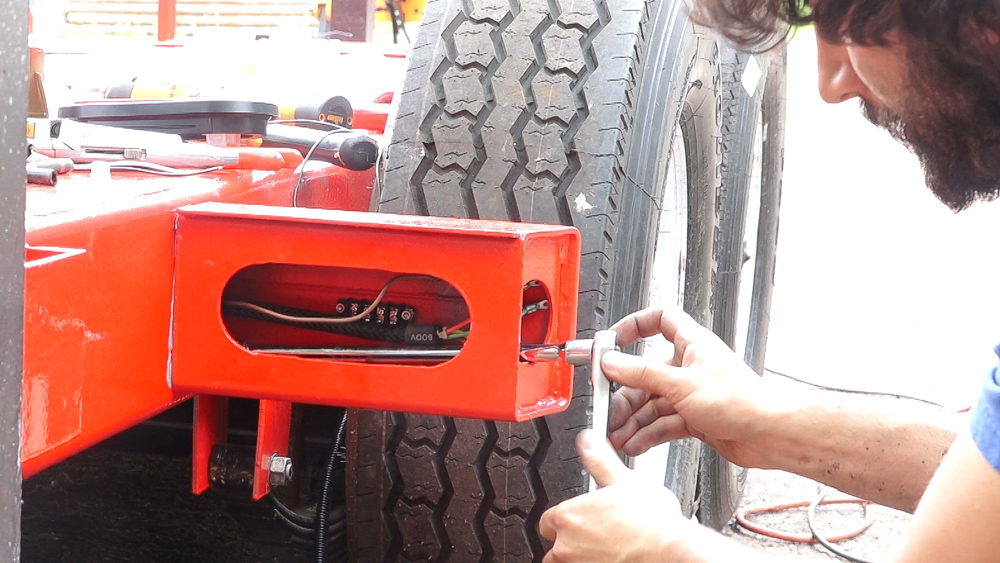
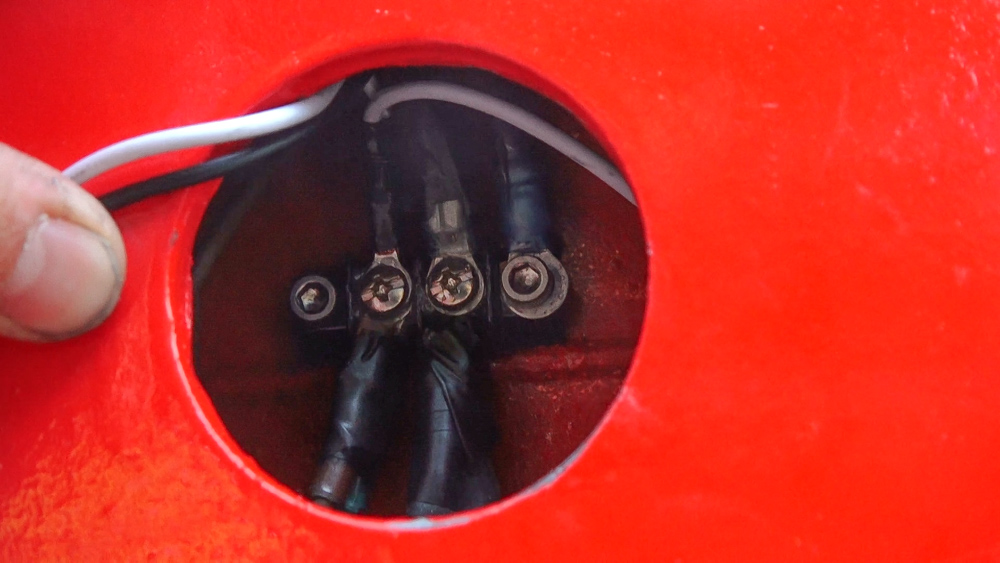
I’ve mounted a terminal strip inside each rear lightbox; essentially turning the lightbox into a junction box. This makes for a super clean install and will make any future work very easy.
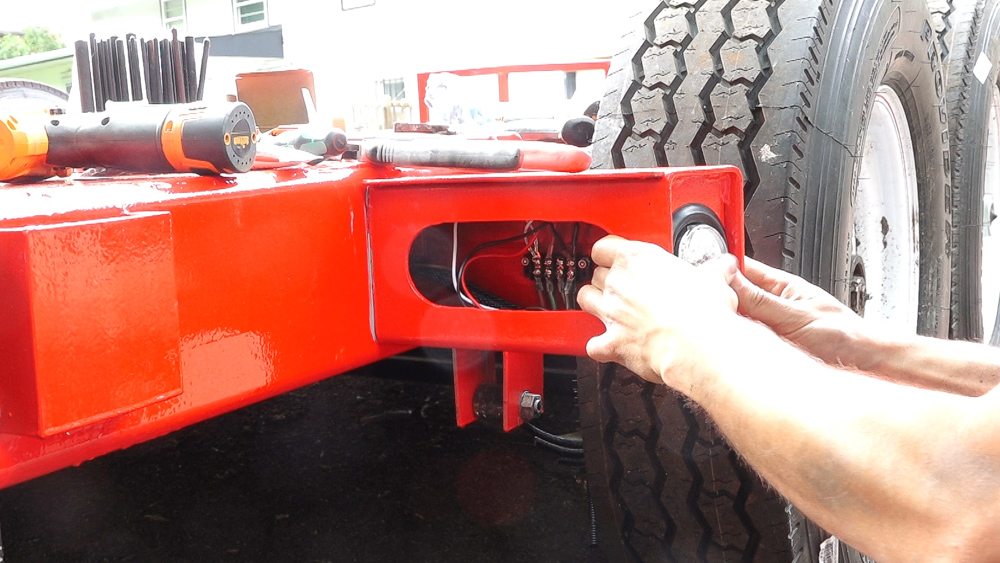
Each light has it’s wires connected to the appropriate terminal. There are 3 in use here: marker, brake, and right turn. The forth lead for left turn is unused on this side. It could be used to carry the reverse light if needed in the future.
The left side is similar to the right but with the addition of the two lights which illuminate the license plate. There are connected to the marker terminal along with the rear marker light. The left turn is used on this side vs right on the other.
Moving back to the front, I added a terminal block behind the side marker which will let me connect all the forward marker lights in one place. I’ve run a wire to this block from the rear lightbox and I’m using the trailer frame as ground.
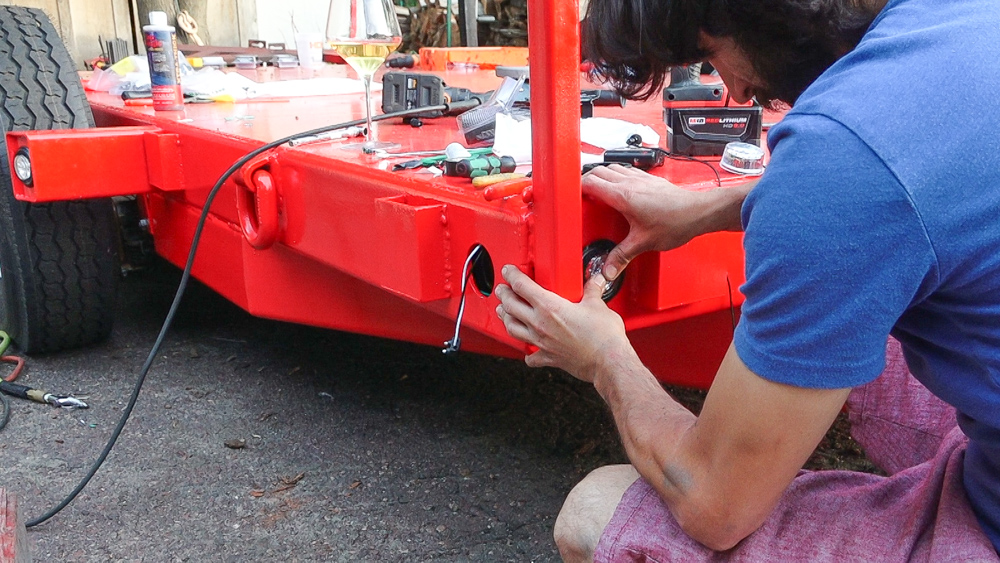
I added ring terminals to the pigtails the lights connect to and screwed the ring terminals into the block. I went with a single row block for this thinking it would be easier to mount in a tight place. I could have used a double row block instead which would have made it much easier to get everything connected. It wasn’t easy getting 4 rings under each screw.

The last markers are the rear id lights. These get their ground from the frame and their signal lines get extended so I can connect them all together with a bolt. This connection gets sealed with heat shrink.
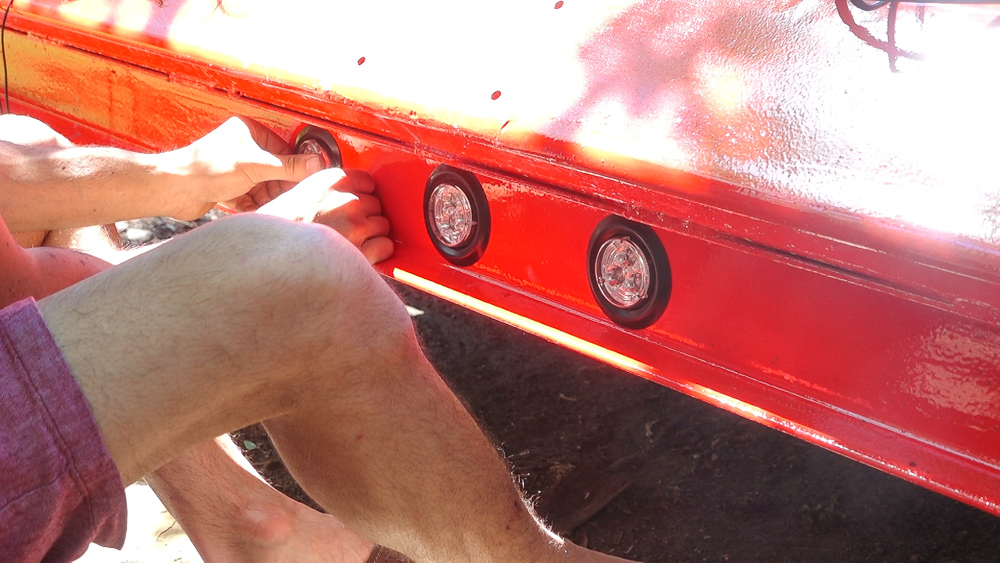
The grommets are installed, the lights plugged in, and popped into place.
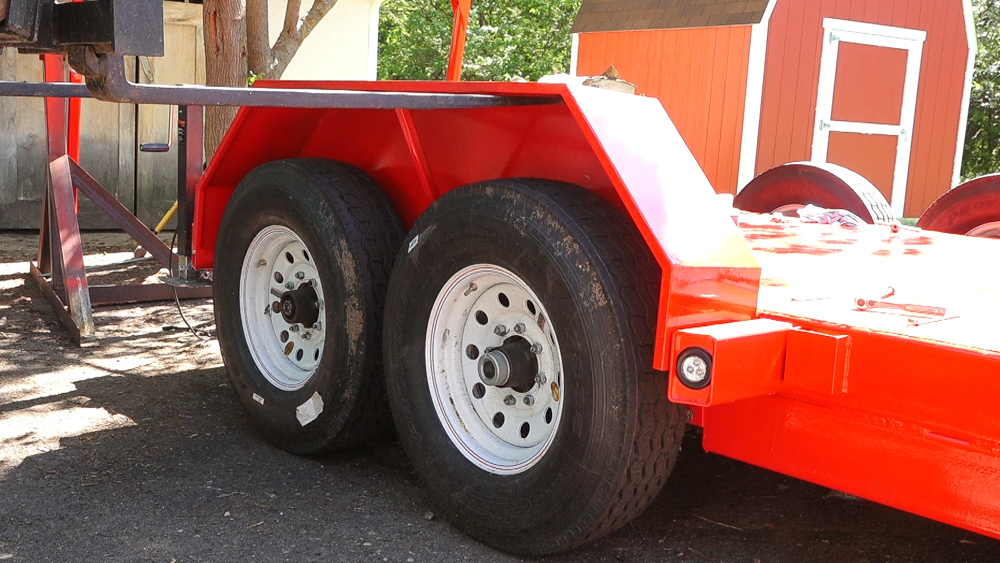
Mostly in the interest of getting them out of the way, I’ll mount the fenders next. These are bolted on and throughout the built, I kept going back and forth on how I’d attach them to seal the area between them and the trailer frame. I also noticed that with them removed, it was possible to get a pallet fork between the tires. I’ve left them unsealed for now and I may pursue some kind of rubber seal in the future.
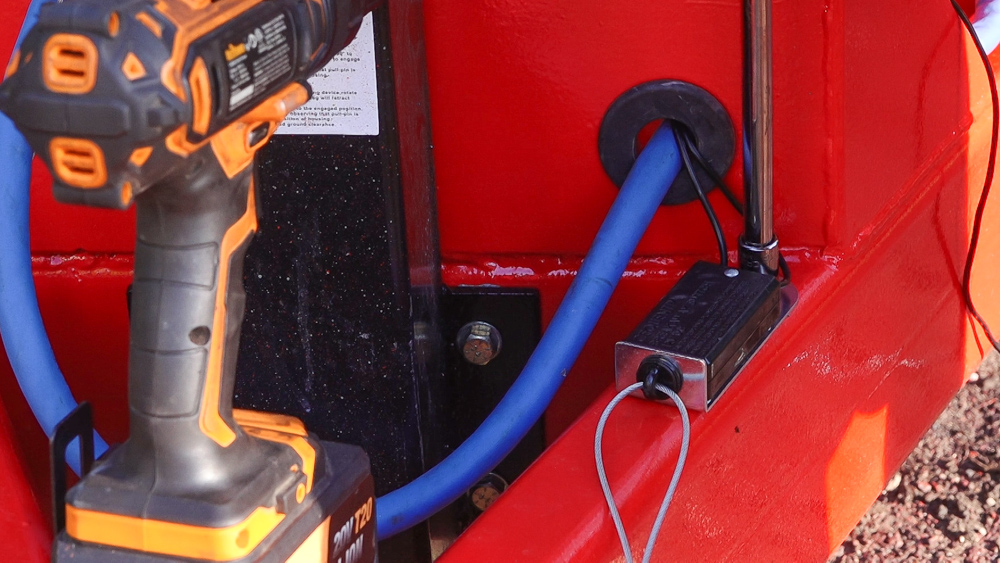
Another small thing is mounting the breakaway switch. This get bolted to the frame. One wire runs to the breakaway battery and the other goes into the junction box under the brake terminal.
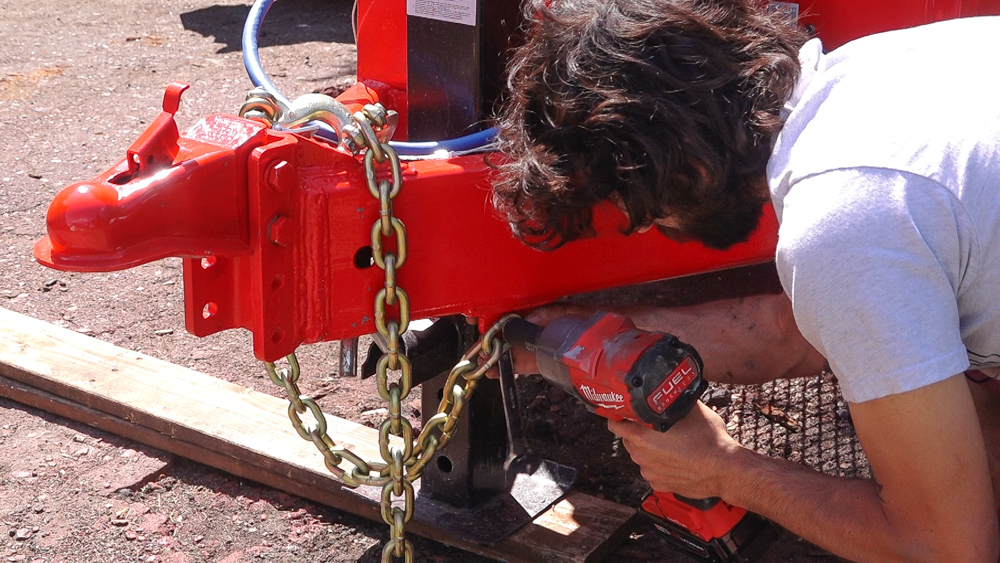
While I’m working at the front, I’ll add the safety chains. It was cheaper to buy a premade binder chain than to just buy the length I needed. I cut the length I needed and added a couple of slip hooks. The chain get bolted to the eyes which are welded onto the underside of the tongue.
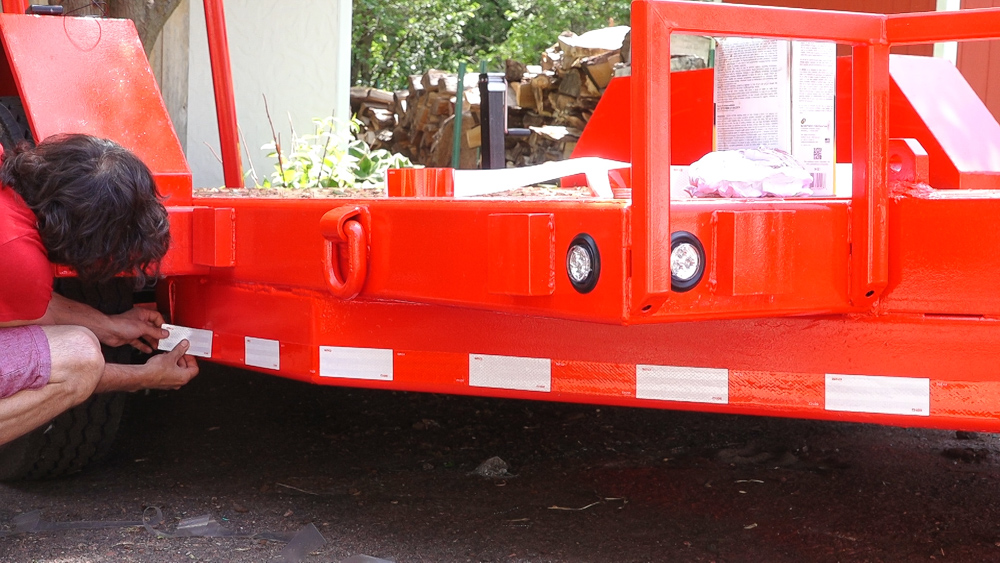
Next Up is the reflective tape. I added a length along the entire wrapped tongue, a small section at the rear of the side, and along the rear light bar.
To my surprise the test of the wiring was almost perfect. All of the lights worked on the first try as did the brakes. The only issue I had was with the breakaway system. I had a pair of wires swapped which was luckily a quick thing to diagnose and repair.
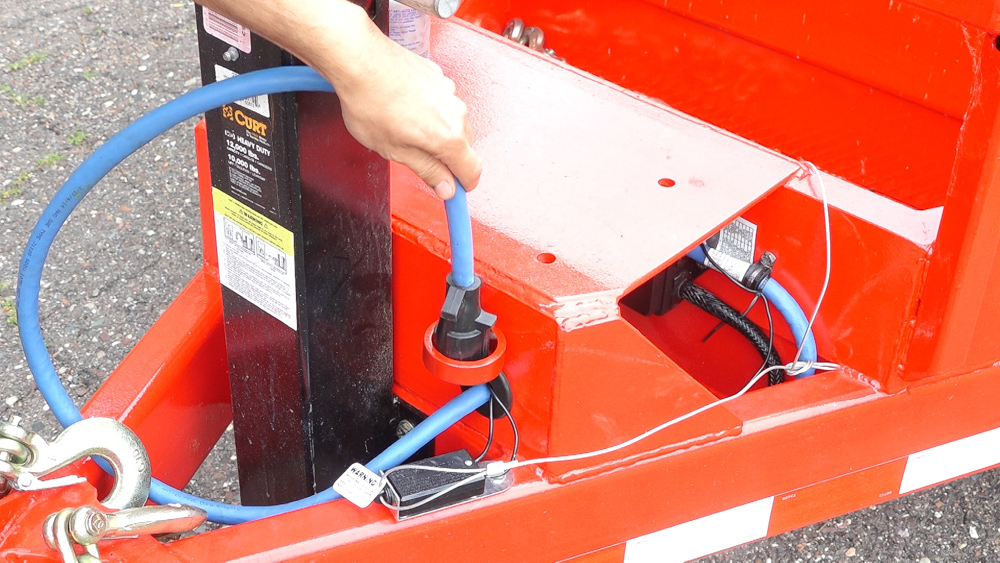
One last little detail (for now) is the addition of a small ring to hold the plug while the trailer is parked. This will keep the plug out of the dirt and with the contacts pointing down, will keep water out as well.
PRODUCTS USED
[Amazon links are affiliate links]
Impact Wrench: https://amzn.to/2RKGCrK
Super Jaws: https://amzn.to/3fxgUBR
Cordless Heat Gun: https://amzn.to/390L2TJ
Anti-Seize: https://amzn.to/30JmsD7
Ox-Gard: https://amzn.to/3hxtotQ
Soldering Iron: https://amzn.to/3hy2D8z
Welcome to my shop! This is a quick update to let you know what I’ve been up to. This big chunky thing is the leg

Welcome back to the home renovation. This time I’m going to be working on the kitchen island. Here is a small model of the island.

Welcome back to our home renovation. Today I am going to be working on this wall. It needs some upper cabinets and the surround for